Mastering the Art of Kitchen Cabinet Painting: A Complete DIY Guide
Why You Should Paint Your Kitchen Cabinets Instead of Replacing Them
Upgrading your kitchen doesn’t have to mean tearing everything out and starting fresh. Painting your kitchen cabinets is a smart, cost-effective alternative that can completely transform your space without the hefty price tag or hassle of replacement. Here’s why you should consider painting instead:
1. A Cost-Effective Transformation for Your Kitchen
Replacing cabinets can be one of the most expensive parts of a kitchen renovation. Painting, on the other hand, is budget-friendly and can deliver a similar “brand-new” look at a fraction of the cost. Whether you hire a professional or go the DIY route, painting is an economical way to upgrade your kitchen without breaking the bank.
Pro Tip: Use high-quality paint for cabinets to ensure long-lasting results, saving you money in the long run.
2. Customize Your Cabinets to Match Your Style
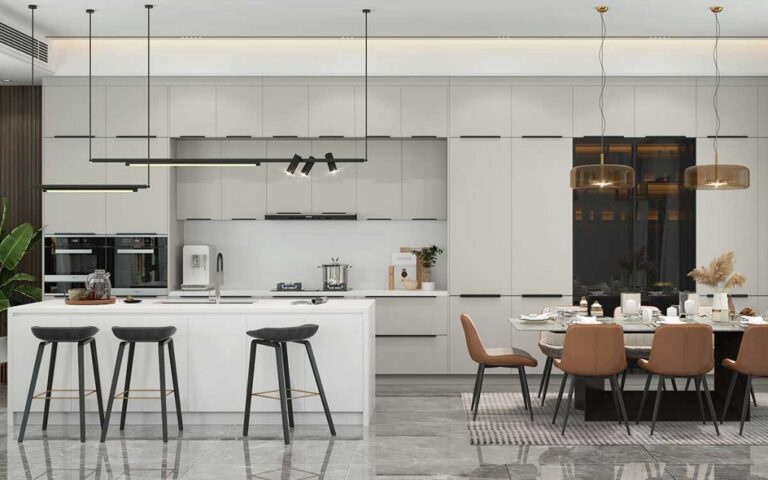
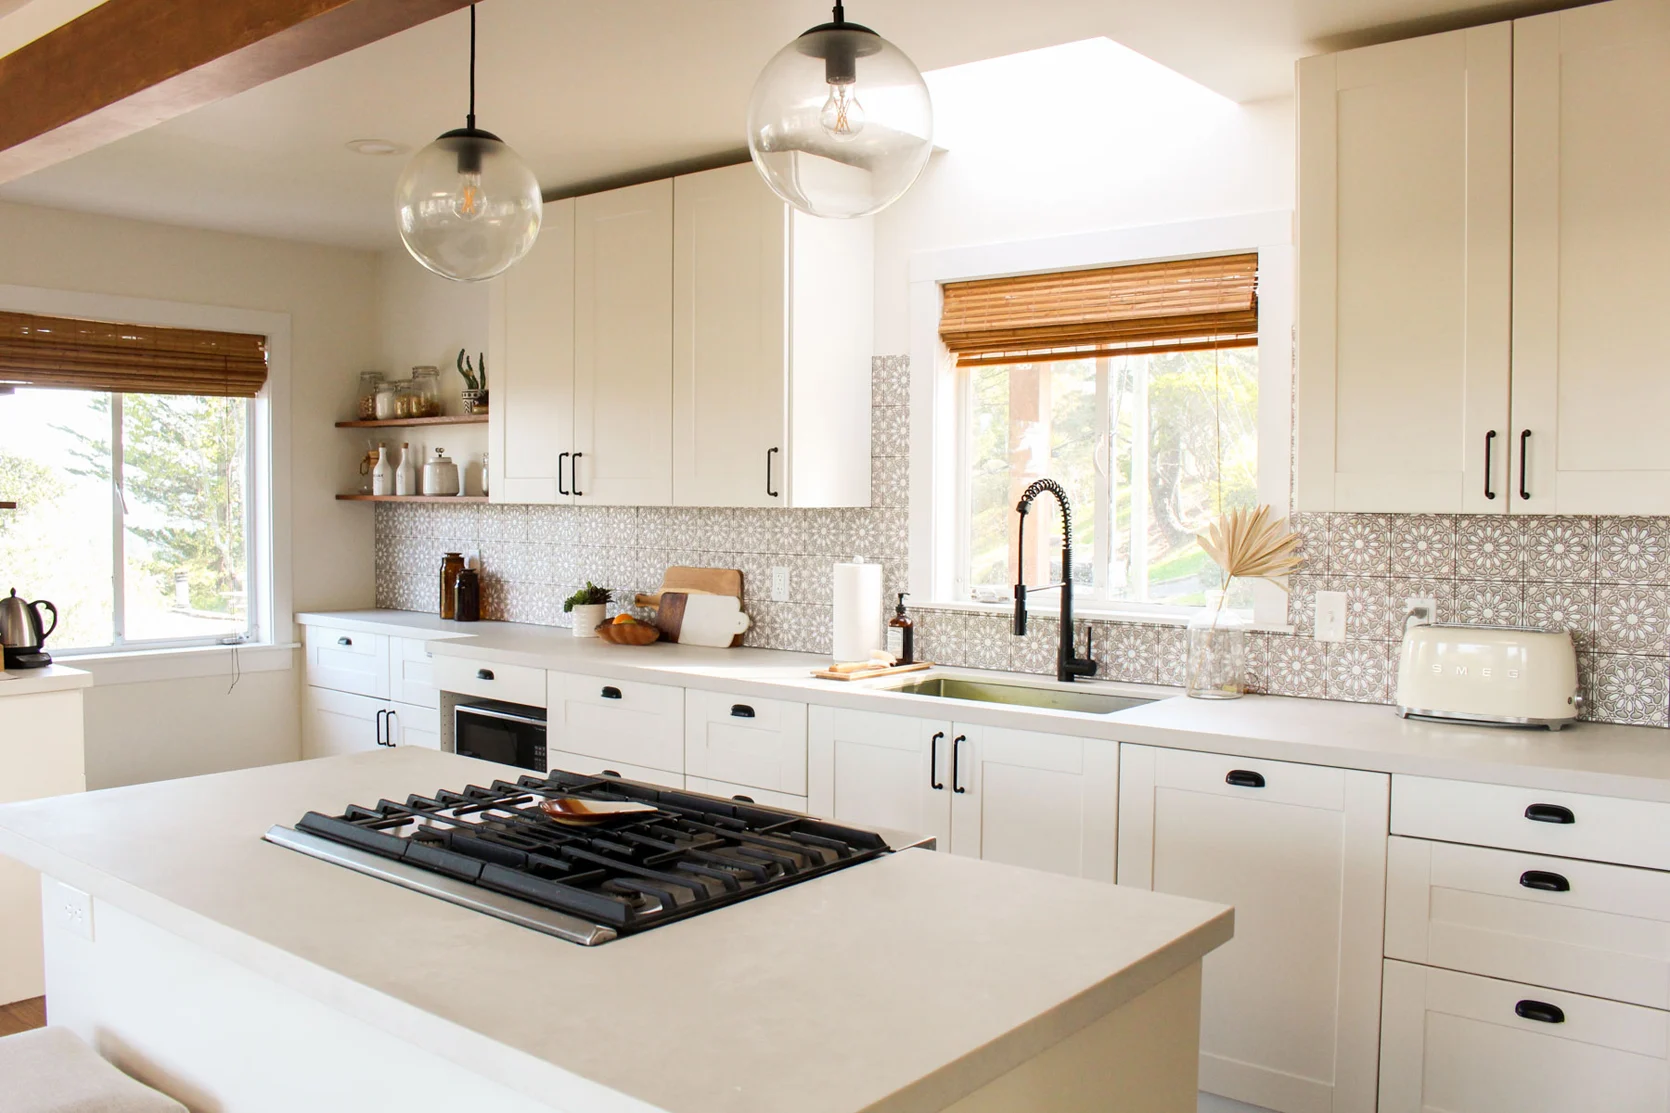
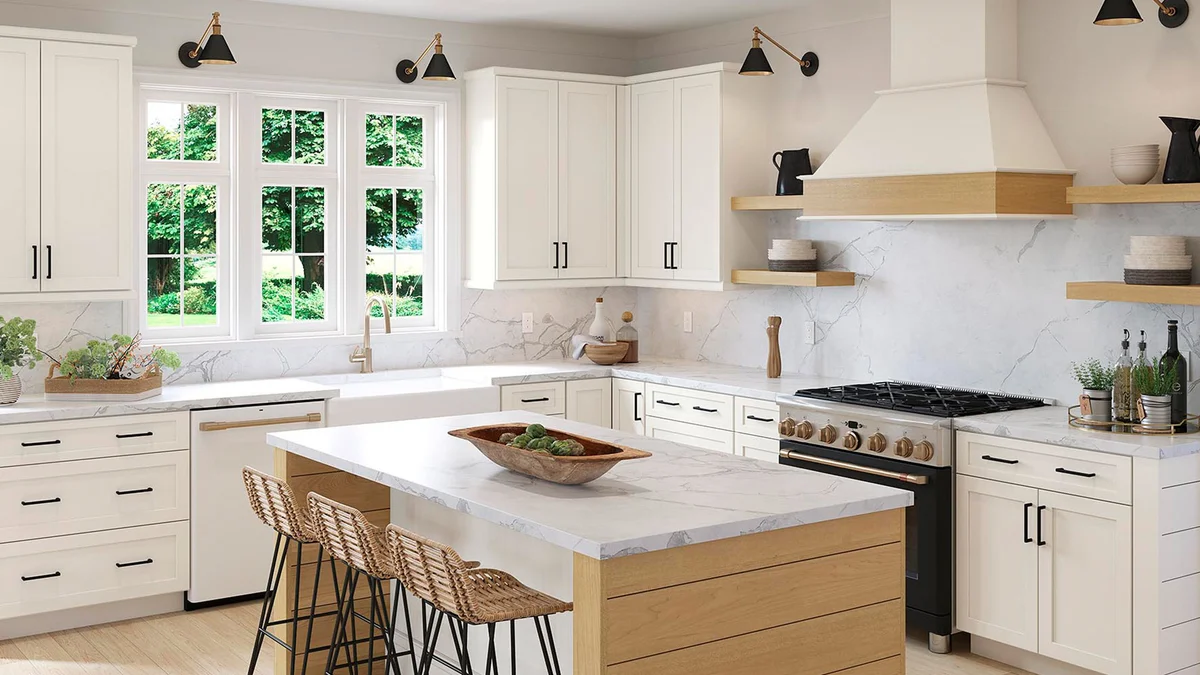
Painting gives you the freedom to express your personal style. Whether you love sleek modern finishes, bold color choices, or timeless neutrals, a fresh coat of paint lets you create the kitchen of your dreams. Plus, you can experiment with trending two-tone designs or add unique touches like accent colors for your island or pantry doors. If you’re looking for inspiration, explore the top 20 kitchen paint colours to discover shades that can transform your space into a stylish and inviting haven.
“Consider popular cabinet paint colors like “sage green,” “navy blue,” or “classic white” for a modern yet timeless appeal.”
3. Extend the Lifespan of Your Existing Cabinets
Why throw out perfectly functional cabinets when a little TLC can make them look new again? Painting not only refreshes the appearance of your cabinets but also protects the wood or material underneath, preventing wear and tear. With proper preparation and the right paint, your cabinets can last for years, keeping your kitchen looking stunning without the need for replacement.
Fun Fact: Well-maintained painted cabinets can last up to 10 years with minimal upkeep, making them a durable choice for your home.
Can You Paint Kitchen Cabinets Yourself? A Beginner’s Guide
Painting your kitchen cabinets might seem like a big task, but with the right preparation and tools, it’s a DIY project that even beginners can handle. Whether you’re looking to save money or put your personal touch on your kitchen, this guide will help you decide if this project is right for you and how to get started.
1. Key Skills Required for a DIY Project
You don’t need to be a professional painter to tackle your cabinets, but a few basic skills will go a long way:
- Attention to Detail: Painting requires precision, especially when working around corners and edges.
- Patience: Proper preparation, drying time, and multiple coats are essential for a smooth, long-lasting finish.
- Basic DIY Knowledge: Skills like sanding, priming, and using a brush or roller are important for this project.
Pro Tip: Practice your painting technique on an old piece of furniture or scrap wood before starting on your cabinets.
2. How to Know if Your Cabinets Are Paint-Ready
Not all cabinets are ideal for painting. Here’s how to determine if your cabinets can handle a fresh coat of paint:
- Material Matters: Solid wood, MDF, or laminate cabinets can usually be painted, but laminate may require special primers.
- Surface Condition: Cabinets with heavy damage, peeling veneer, or excessive grease buildup may need repairs or deep cleaning before painting.
- Style and Design: Flat surfaces are easier to paint, while ornate designs may require more effort and time.
Quick Test: Lightly sand a small hidden area of your cabinet. If the surface becomes smooth and paintable, you’re good to go!
Should You DIY or Hire a Professional?
If you’re confident in your skills and have time to dedicate to the project, DIY cabinet painting is a rewarding option. However, if you’re unsure about the process or dealing with large or complex cabinets, hiring a professional might save time and ensure perfect results.
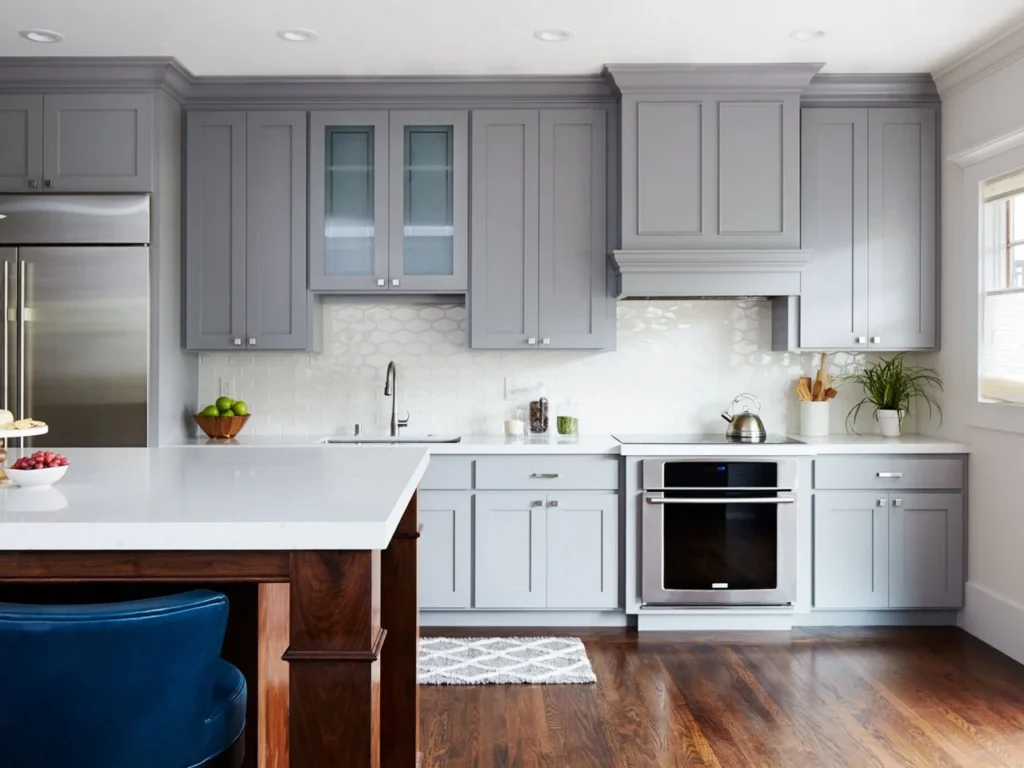
Do You Need to Remove Old Paint Before Starting?
One of the most common questions DIYers have is whether it’s necessary to remove old paint before painting kitchen cabinets. The answer depends on the condition of your cabinets and the type of paint you’re using. Here’s how to decide and get started with confidence.
1. When to Strip vs. When to Paint Over
- Strip the Old Paint If:
- The existing paint is chipping, peeling, or bubbling.
- You’re switching from an oil-based paint to a water-based paint (or vice versa).
- There are too many layers of old paint, making the surface uneven.
- Paint Over the Old Paint If:
- The existing paint is smooth and in good condition.
- You’re sticking with a similar type of paint (e.g., water-based over water-based).
- You’re short on time but can prep the surface properly.
Pro Tip: Always test a small area to ensure the new paint adheres well to the old surface.
2. Tools for Removing Old Paint Effortlessly
If you decide to strip the old paint, having the right tools can make the job much easier:
- Paint Stripper: Use a chemical paint remover for tough, thick layers of old paint. Look for eco-friendly, low-odor options.
- Sanding Tools: A hand sander or orbital sander works well for removing paint and smoothing the surface.
- Heat Gun: Ideal for softening paint layers, making it easier to scrape off.
- Scrapers: A sturdy paint scraper or putty knife helps lift paint without damaging the wood underneath.
Safety Tip: Always wear gloves, goggles, and a mask when working with paint strippers or sanding.

Removing old paint isn’t always necessary, but proper preparation is key to a flawless finish. By evaluating your cabinets’ condition and using the right tools, you can create a smooth surface that ensures your new paint job lasts for years.
How to Choose the Best Paint for Kitchen Cabinets
Your kitchen cabinets deserve a fresh look, and choosing the right paint can make all the difference. Let’s dive into the key points to consider when picking the best paint for your kitchen cabinets.
Oil-Based vs. Water-Based: Which One is Better?
Choosing between oil-based and water-based paints depends on your needs:
- Oil-Based Paints: Known for their durability, they create a smooth, hard finish that’s resistant to scratches and stains. However, they take longer to dry and have a strong odor, making ventilation crucial during application.
- Water-Based Paints: Quick-drying and eco-friendly, water-based paints are easier to clean up and emit less odor. They are ideal for homeowners who prioritize convenience and low-VOC (volatile organic compound) options.
Pro Tip: For cabinets in high-traffic kitchens, consider hybrid paints that combine the durability of oil-based paint with the easy application of water-based formulas.
Top Cabinet Paint Brands for Durability
When it comes to trusted brands, here are some of the top contenders for painting kitchen cabinets:
- Benjamin Moore Advance: A waterborne alkyd paint offering a durable, smooth finish with minimal brush strokes.
- Sherwin-Williams Emerald Urethane: Perfect for high-traffic areas, this paint provides excellent durability and stain resistance.
- Behr Urethane Alkyd Semi-Gloss Enamel: A budget-friendly option known for its tough, scratch-resistant finish.
- Rust-Oleum Cabinet Transformations Kit: Ideal for DIY enthusiasts, this kit includes everything you need for a professional look.
Tip: Always check customer reviews and consider a small test before committing to a brand.
The Perfect Paint Finish: Glossy, Satin, or Matte?
The finish you choose affects both aesthetics and maintenance. Here’s a quick guide:
- Glossy Finish: Reflects light beautifully, giving cabinets a shiny, modern appearance. It’s easy to clean but can highlight imperfections.
- Satin Finish: The most popular choice, offering a subtle sheen that balances elegance and practicality. Satin finishes are forgiving and work well in all kitchen styles.
- Matte Finish: Provides a sophisticated, smooth look but may be harder to clean, making it better for low-traffic kitchens.
Expert Advice: Satin or semi-gloss finishes are generally best for kitchen cabinets due to their durability and ease of cleaning.
Essential Tools and Supplies You’ll Need
When it comes to painting kitchen cabinets, having the right tools and supplies is essential for achieving a smooth, professional finish. Here’s a breakdown of the must-have items for your painting project.
Paintbrushes, Rollers, and Sprayers: Which Works Best?
- Paintbrushes: Ideal for detailed areas like edges and corners. Look for synthetic bristle brushes for water-based paints and natural bristles for oil-based paints.
- Rollers: Perfect for covering larger, flat areas quickly. Use a ¼ to ⅜-inch nap roller for a smooth finish without visible texture.
- Sprayers: For a flawless, factory-like finish, a paint sprayer is the best option. However, it requires a bit more skill and preparation to avoid overspray.
Pro Tip: For the best results, use a combination of these tools based on the surfaces you’re painting.
Cleaning and Sanding Materials for Perfect Prep
Preparation is key for a long-lasting finish. Here’s what you’ll need:
- Cleaning Materials: Use a degreaser or TSP (trisodium phosphate) to remove grease and grime from your cabinets.
- Sanding Materials: Sandpaper (120 to 220-grit) or a power sander will help smooth out imperfections. Don’t skip this step, as it ensures proper adhesion of the paint.
Tip: After cleaning, wipe down surfaces with a damp cloth to remove dust before painting.
Primer Recommendations for a Smooth Base Coat
Primer is crucial for ensuring the paint sticks and gives you an even base. Some top recommendations include:
- Zinsser BIN Shellac-Based Primer: Great for tough stains and non-porous surfaces.
- KILZ Premium Primer: Works well for wood, drywall, and even masonry, providing excellent adhesion.
- Benjamin Moore Fresh Start: Offers great coverage and helps in preventing bleed-through.
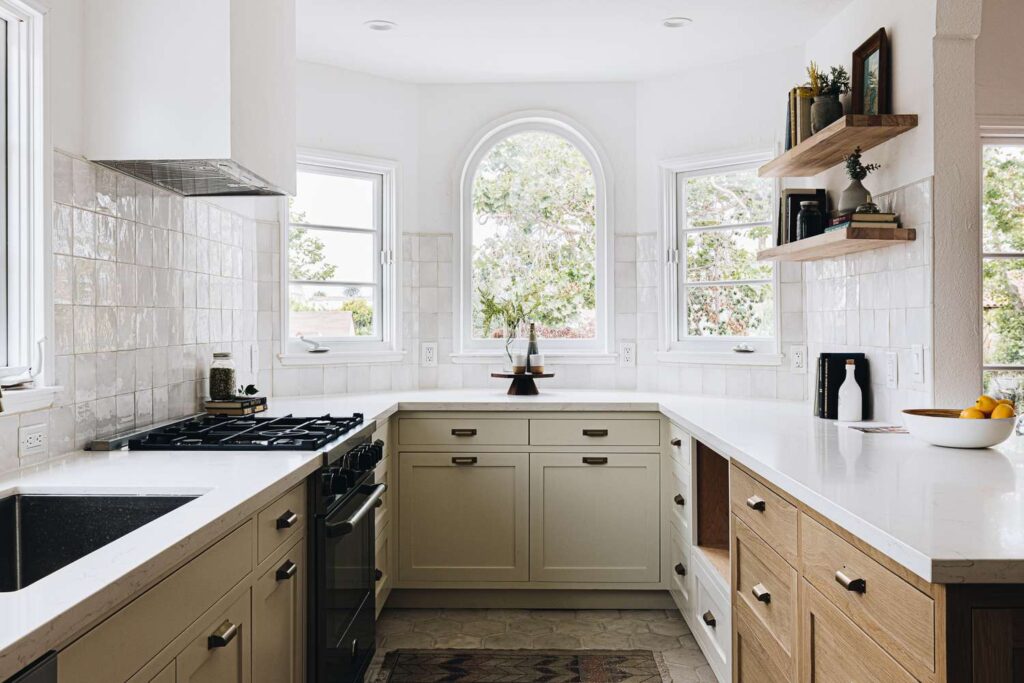
How Much Does It Cost to Paint Kitchen Cabinets?
Budgeting for a kitchen cabinet painting project can vary based on the size of your kitchen, materials, and whether you do it yourself or hire a pro.
Budgeting for Supplies and Paint
The total cost depends on the number of cabinets and the type of paint you choose. Typically, you can expect to spend:
- Paint: $30–$80 per gallon
- Supplies (brushes, rollers, sandpaper, etc.): $50–$150
- Primer: $20–$50 per gallon
Tip: Don’t forget to account for any additional costs like drop cloths, painter’s tape, and protective gear.
Comparing DIY Costs with Professional Services
If you’re considering professional help, cabinet painting can cost anywhere from $1,200 to $7,000 depending on the project size, location, and complexity.
Pro Tip: DIY can save money, but be realistic about the time and effort involved.
How to Prep Your Cabinets for Painting Success
Proper preparation is the key to a smooth, long-lasting finish. Here’s how to get your cabinets ready for painting.
Cleaning to Remove Grease and Grime
Use a degreaser or dish soap to thoroughly clean all surfaces. If you’re working with cabinets that have years of built-up grease, a stronger cleaner like TSP (trisodium phosphate) is essential.
Sanding Tips for Smooth, Even Surfaces
Lightly sand the surface to remove any existing finish and create a rough surface that the paint can adhere to. Start with 120-grit sandpaper, then finish with 220-grit for a smooth, even base.
Tip: Always sand in the direction of the wood grain for the best results.
Repairing Scratches and Dents with Wood Filler
Before painting, fill in any scratches or dents with wood filler. Once dry, sand the repaired areas to ensure a smooth surface.
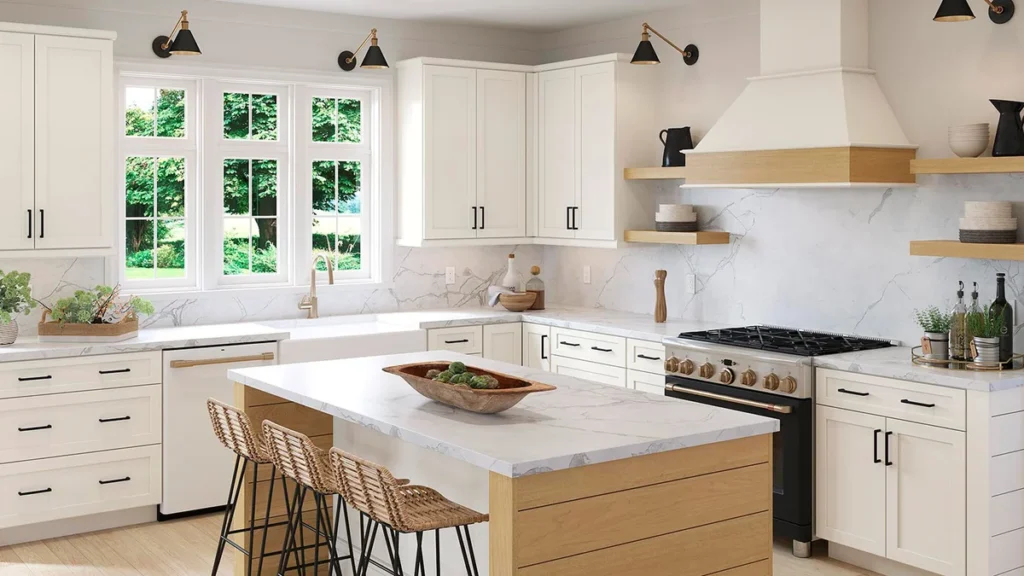
Step-by-Step Guide: Painting Kitchen Cabinets
Follow these steps for a flawless paint job.
Step 1: Remove Doors, Drawers, and Hardware
Take off all cabinet doors, drawers, and hardware like handles and knobs. This allows you to paint all surfaces evenly and prevents any damage to the hardware.
Step 2: Clean and Sand the Surfaces Thoroughly
Ensure all surfaces are cleaned of grease, grime, and dust. Sand the surfaces to create a smooth, even base for the primer and paint.
Step 3: Apply a High-Quality Primer Coat
Use a good-quality primer to seal the surface and ensure better adhesion of the paint.
Step 4: Sand Again for a Professional Finish
After the primer dries, lightly sand the surface again to remove any imperfections before applying the paint.
Step 5: Paint Evenly with Multiple Thin Coats
Apply multiple thin coats of paint, allowing each layer to dry completely before the next. This method avoids drips and gives you a professional finish.
Step 6: Reinstall Hardware and Reattach Doors
Once the paint has fully cured, reattach the hardware and rehang the doors and drawers.
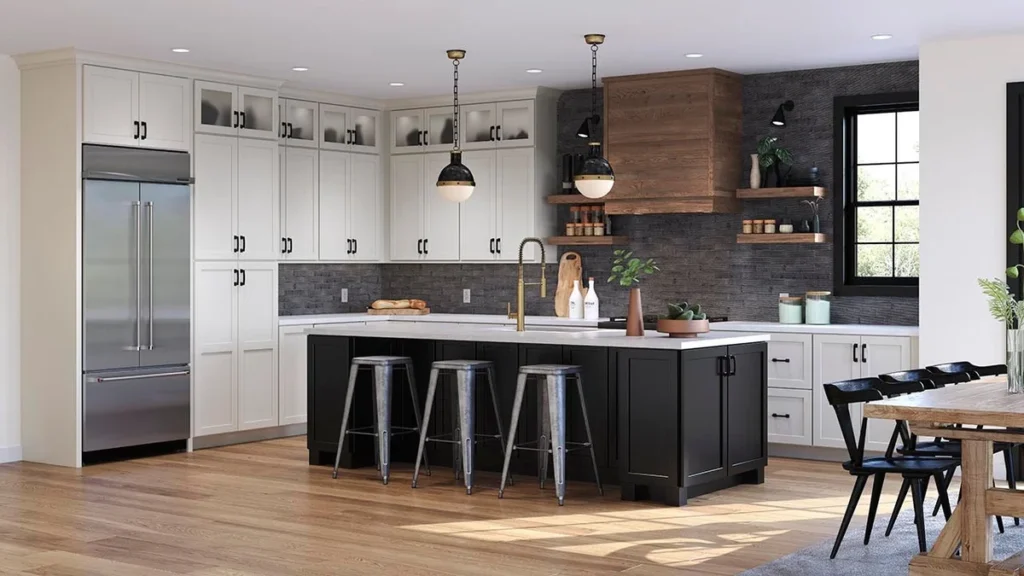
How to Choose the Right Color for Your Kitchen Cabinets
Choosing the right color is crucial in setting the tone for your kitchen. Here’s what’s trending and how to match your cabinets with the rest of your kitchen.
Trending Cabinet Colors for Modern Kitchens in 2024
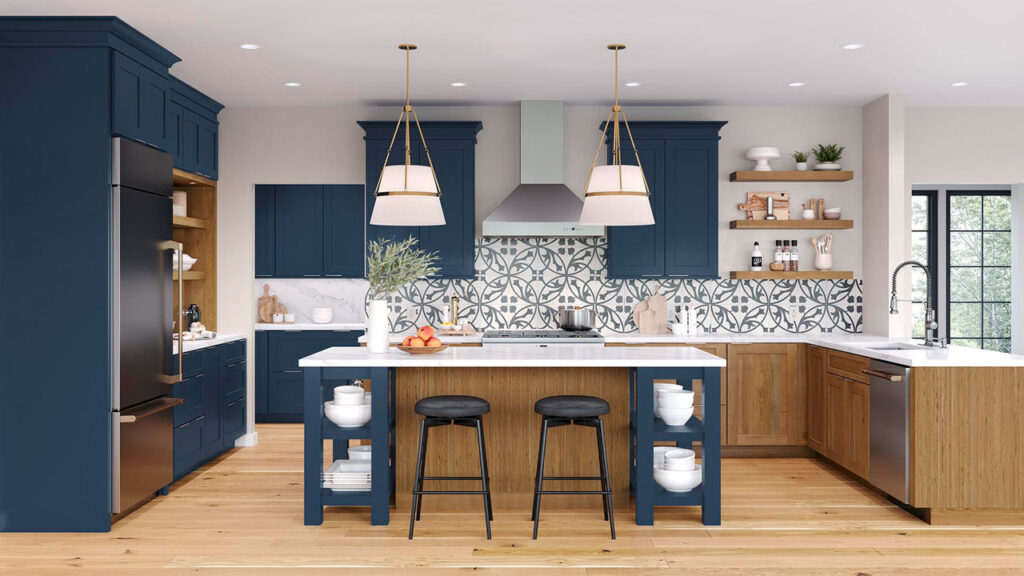
In 2024, expect to see bold and unique colors like deep navy, soft sage, and earthy terracotta. These shades bring warmth and personality to modern kitchens.
Two-Tone and Bold Color Combinations for Added Style
Consider two-tone cabinets for a chic, modern look. Pair bold colors like charcoal with soft neutrals or pastel blues with whites for a striking contrast.
Tips for Matching Cabinet Colors with Countertops and Floors
When choosing cabinet colors, consider the existing colors in your kitchen, like countertops and flooring. Neutral tones like gray, white, or soft wood hues work well with most surfaces.
Common Mistakes to Avoid When Painting Cabinets
Avoid these common pitfalls for a flawless result.
Skipping Prep Work: The Cost of Cutting Corners
Proper cleaning and sanding are essential for paint adhesion. Don’t skip this crucial step, as it will lead to peeling and uneven finishes.
Using the Wrong Paint Type or Tools
Choose the right paint type (oil-based vs. water-based) and use quality brushes and rollers. Low-quality tools can leave streaks or an uneven finish.
Rushing the Drying and Curing Process
Patience is key when painting kitchen cabinets. Allow ample time for each coat to dry and cure fully, as rushing can lead to mistakes and a less durable finish.
What Is the Best Method for Painting Cabinets?
Choosing the right method can make all the difference in achieving a flawless, long-lasting finish.
Spray Painting vs. Brush Painting: Pros and Cons
- Spray Painting: Provides a smooth, even finish without brush marks, but it requires a spray gun and proper setup.
- Brush Painting: Ideal for smaller areas, though it may require more time and effort to get a smooth, streak-free finish.
Time-Saving Techniques for Large Projects
If you have many cabinets to paint, consider using a paint sprayer for speed. Just be sure to protect surrounding surfaces with drop cloths.
How to Achieve a Factory-Finish Look at Home
For a professional, smooth finish, invest in a quality paint sprayer and use a multi-coat application method, sanding lightly between each layer.
How Long Does It Take to Paint Kitchen Cabinets?
The time required to paint your kitchen cabinets depends on several factors, including prep work, drying times, and the number of coats applied.
Factors Affecting Project Timelines
- Cabinet Size and Number: Larger kitchens will take longer.
- Paint Type: Oil-based paints take longer to dry than water-based paints.
Drying and Curing Times for Each Coat
Typically, each coat of paint needs 2–4 hours to dry. However, allow 24–48 hours for the paint to fully cure before using your cabinets.
How to Maintain Painted Kitchen Cabinets
Proper maintenance can ensure your cabinets stay beautiful for years.
Cleaning Tips to Keep Your Cabinets Looking Fresh
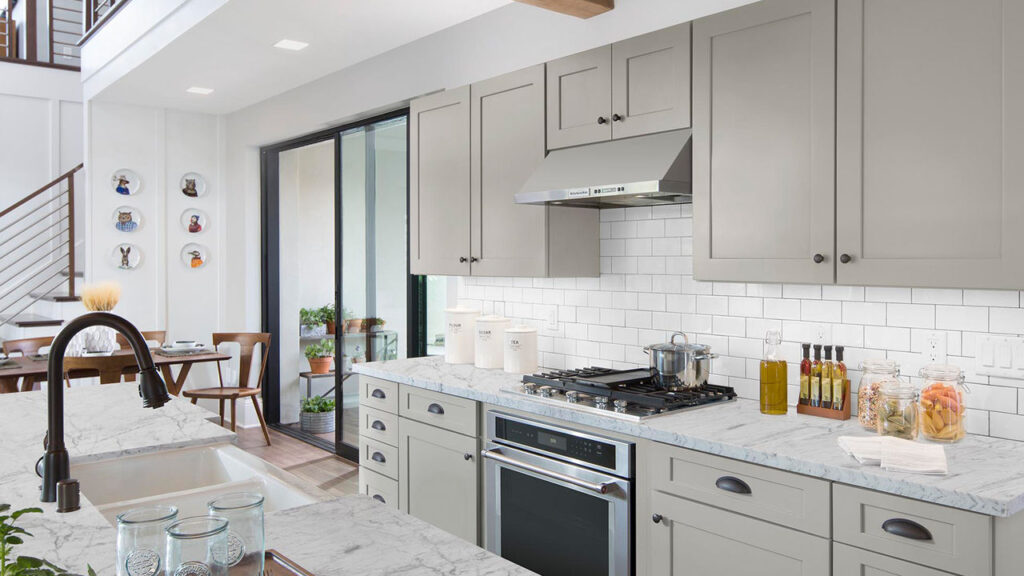
Use a gentle, non-abrasive cleaner and a soft cloth to wipe down cabinets regularly. Avoid harsh chemicals that can damage the paint.
Preventing Chips and Scratches Over Time
Avoid heavy impacts and use protective pads under pots and pans. A periodic touch-up can help keep your cabinets looking fresh.
Bonus: Expert Tips for First-Time DIYers
If you’re new to cabinet painting, these insider tips will help you avoid common mistakes.
Mistakes Professionals See DIYers Make
- Skipping sanding or cleaning
- Using the wrong brush for detailed areas
- Not allowing enough drying time
Insider Advice for a Flawless Finish
- Invest in quality supplies
- Take your time with prep work
- Practice on a scrap piece of wood before starting
Final Thoughts: Transform Your Kitchen on a Budget
Painting your kitchen cabinets is one of the most affordable ways to update your space and give it a fresh, new look. With the right tools, paint, and a bit of time, you can transform your kitchen into a stylish, functional space that suits your style—without breaking the bank.

