Complete Guide to Installing Under Cabinet Lighting in Your Kitchen
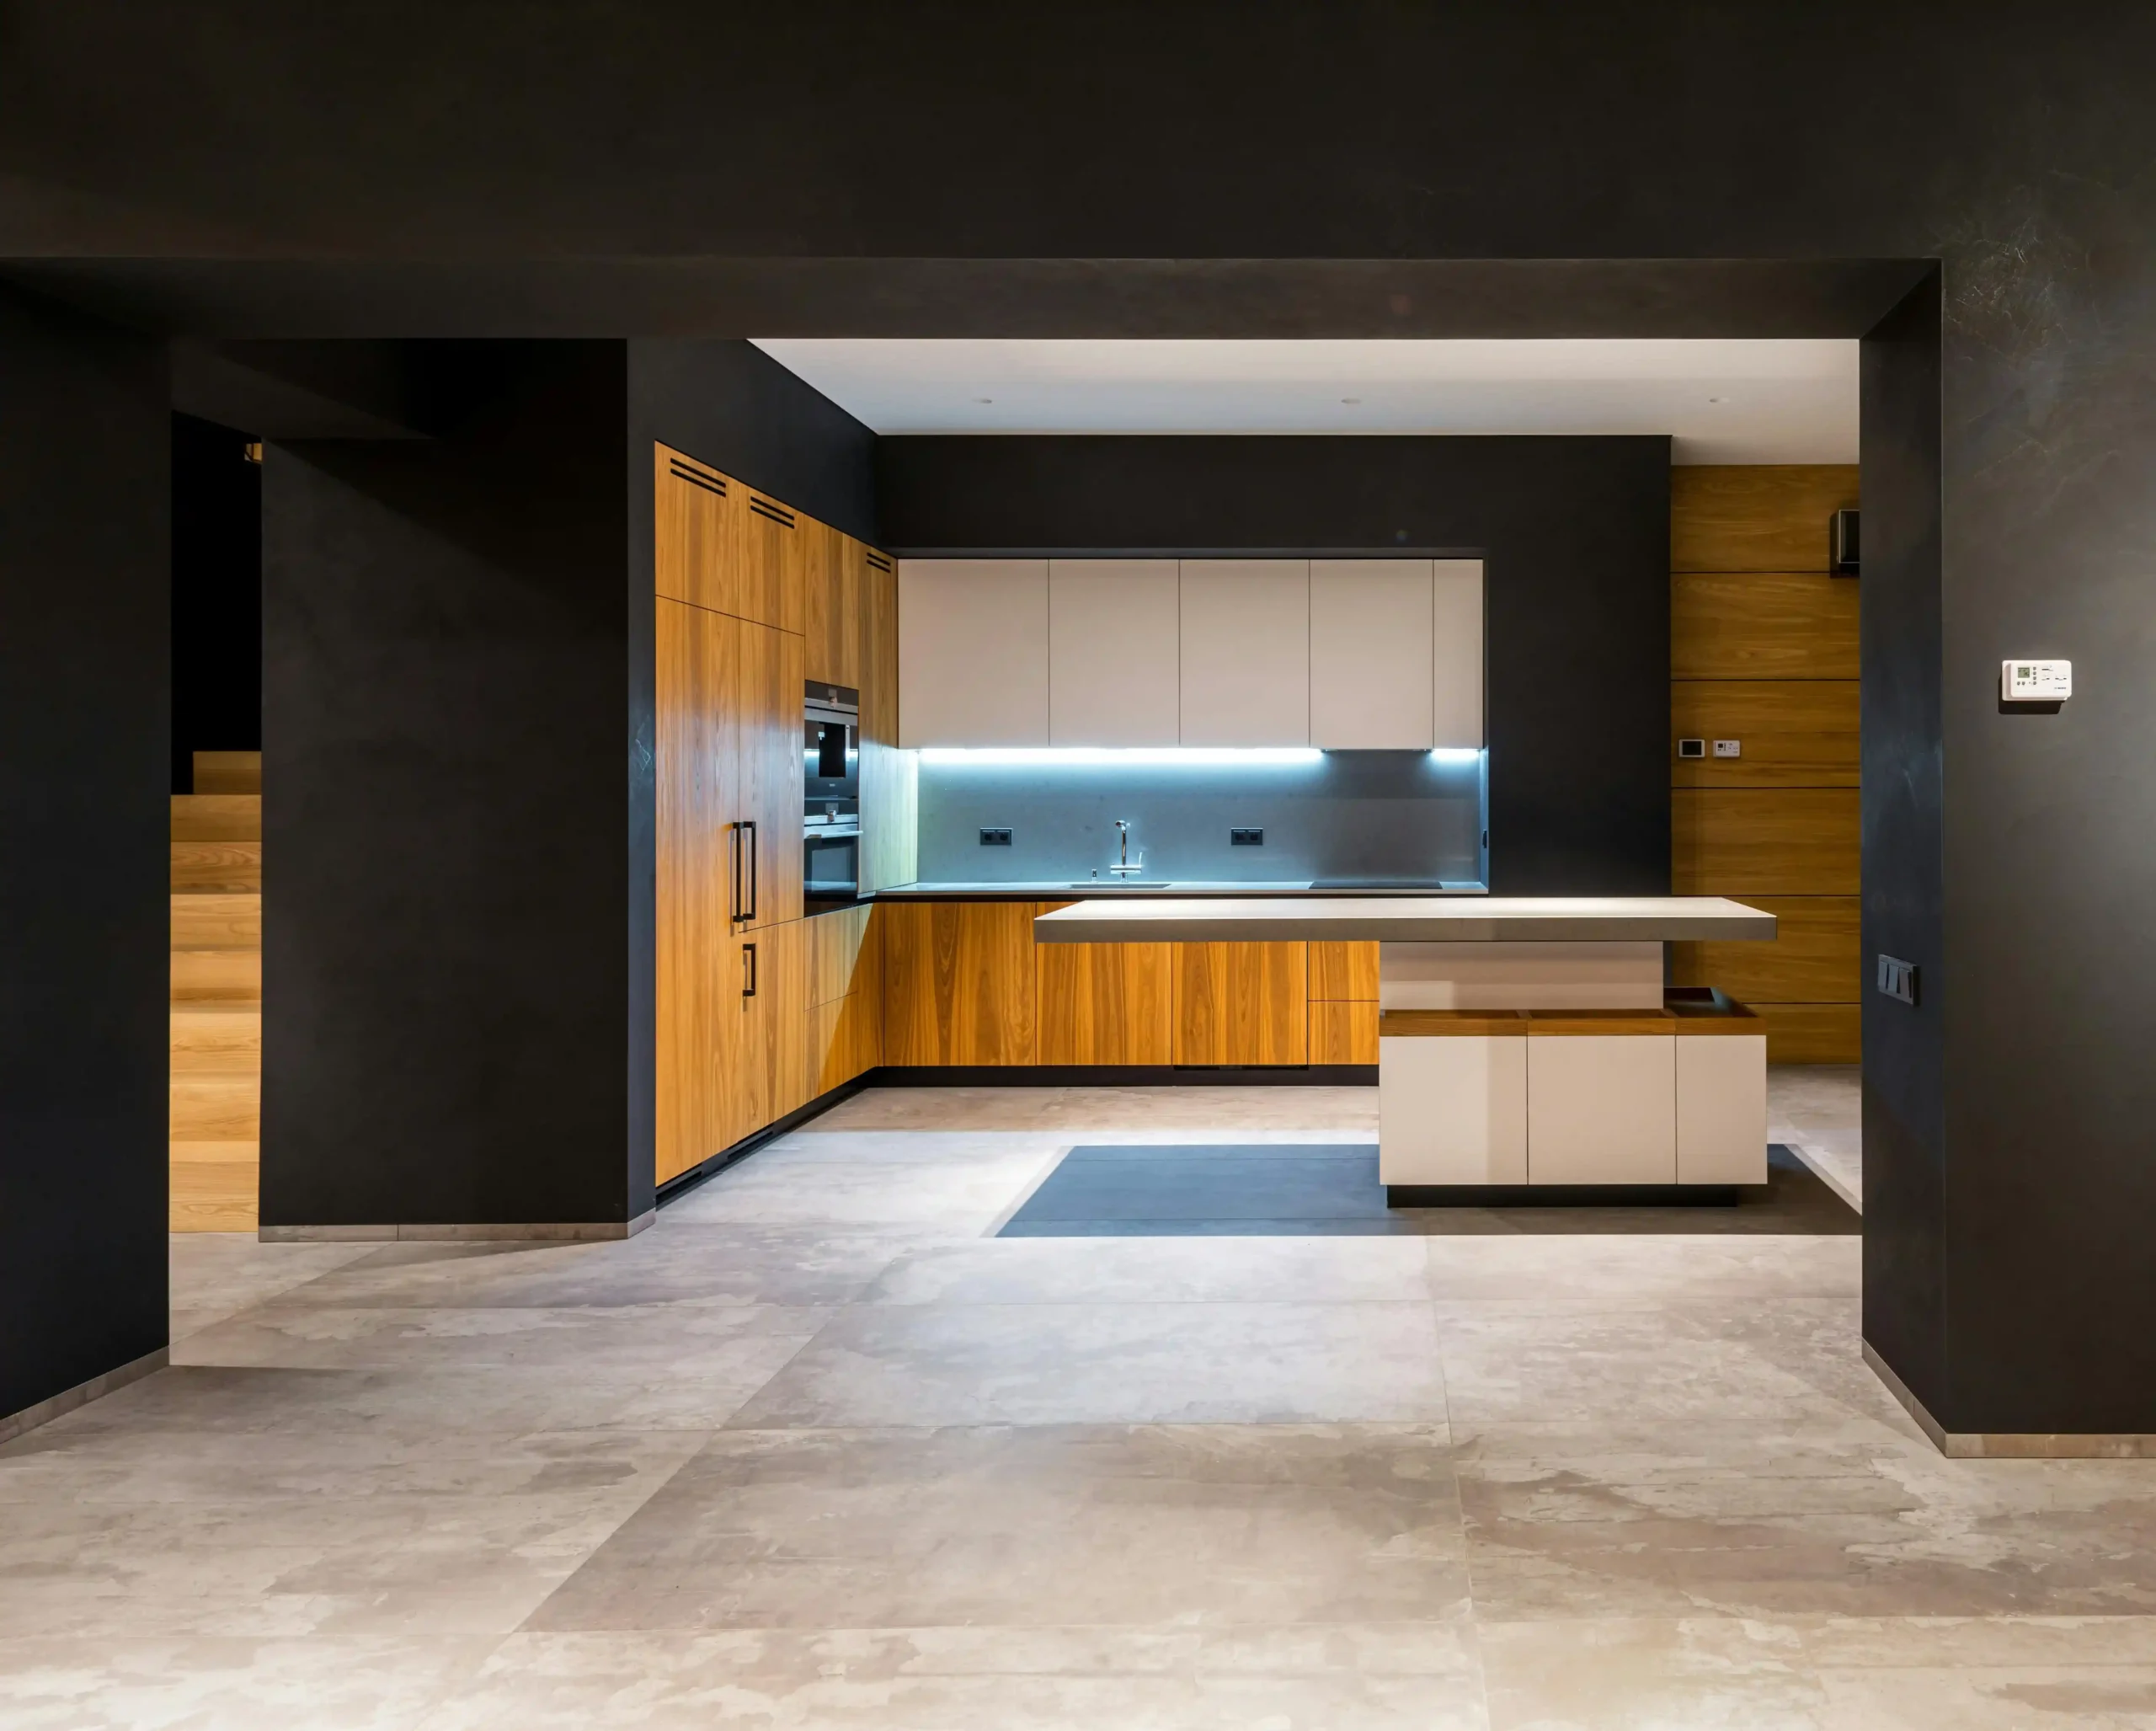
Transforming your kitchen into a functional and stylish space starts with great lighting. Under cabinet lighting is a simple yet impactful upgrade that not only enhances the aesthetic appeal of your kitchen but also improves its functionality.
In this guide, we’ll explore why under cabinet lighting is essential and help you understand the different types of lighting options available to suit your needs.
Why Under Cabinet Lighting is a Must-Have
Under cabinet lighting is more than just a design trend—it’s a practical addition to any kitchen. Here’s why:
- Enhanced Visibility: It eliminates shadows, making your countertops brighter and tasks like chopping, cooking, and reading recipes much easier.
- Improved Ambiance: This lighting creates a warm and inviting glow, perfect for entertaining or winding down after a busy day.
- Energy Efficiency: Modern LED options consume less power while providing excellent illumination.
- Increased Home Value: Stylish under cabinet lighting can elevate your kitchen’s appeal, making it a selling point for potential buyers.
Types of Under Cabinet Lighting: Pros and Cons
By choosing the right type of under cabinet lighting and pairing it with a professional-looking Kitchen Cabinet Painting, you can achieve a cohesive and stylish design. Let’s break down the most popular types:
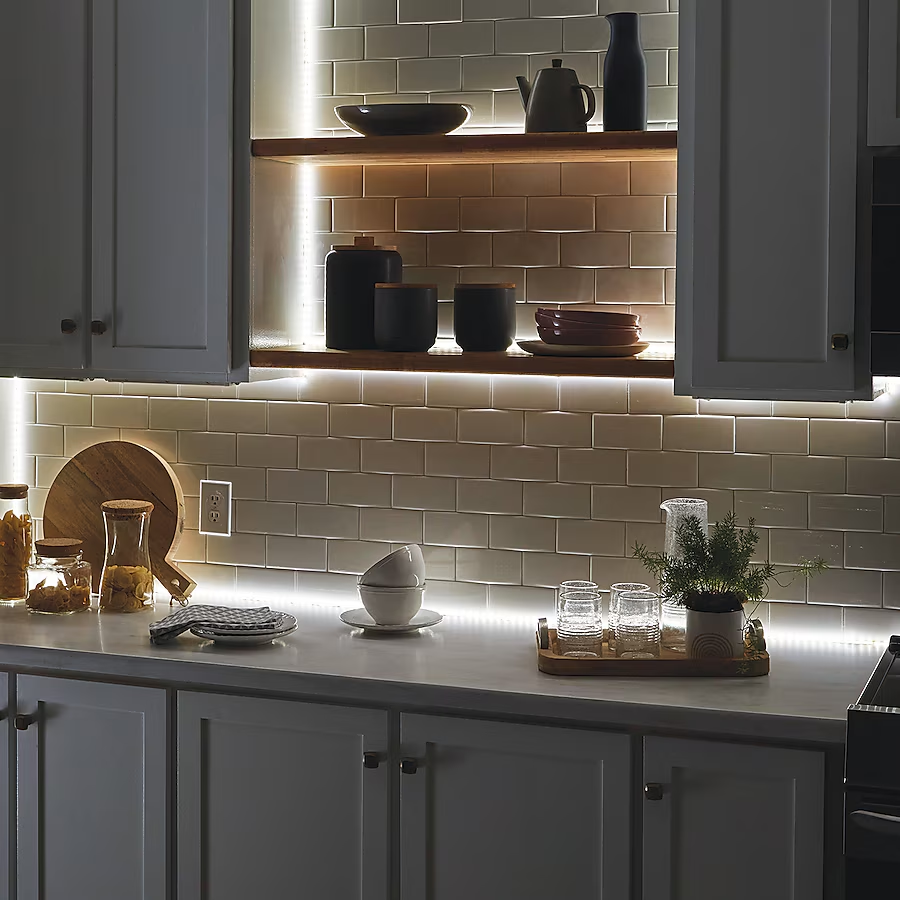
LED Strip Lights
Pros:
- Extremely energy-efficient and long-lasting.
- Provide even illumination with no dark spots.
- Available in customizable lengths and colors.
Cons:
- May require professional installation for a seamless look.
- Slightly higher upfront cost compared to other options.
Puck Lights
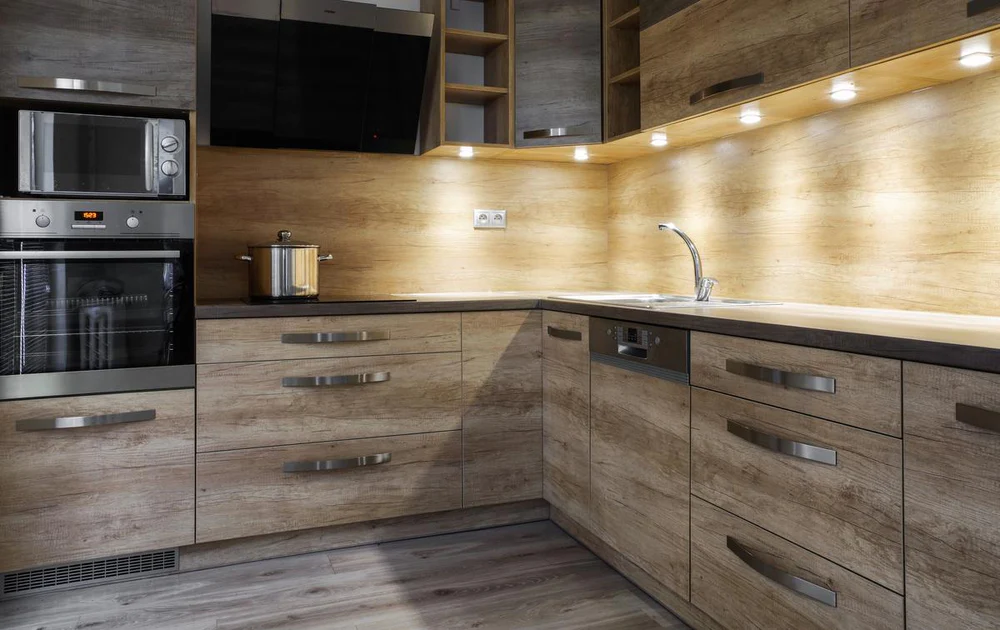
Pros:
- Compact and ideal for targeted lighting.
- Easy to install and available in battery-operated options.
- Great for highlighting specific areas like a cutting board or decorative items.
Cons:
- Can create uneven lighting if spaced too far apart.
- Battery-operated models may require frequent battery changes.
Fluorescent Fixtures
Pros:
- Cost-effective and widely available.
- Bright and efficient lighting for large areas.
Cons:
- Bulbs can flicker or take time to warm up.
- Limited design options compared to LED lights.
Hardwired vs. Plug-in Options
Hardwired Lighting
Pros:
- Offers a clean, seamless look with no visible cords.
- Can be connected to a wall switch for easy control.
Cons:
- Requires professional installation.
- Less flexibility in repositioning.
Plug-in Lighting
Pros:
- Easy to install without needing an electrician.
- Portable and perfect for renters or temporary setups.
Cons:
- Visible cords may detract from the kitchen’s aesthetic.
- Limited to proximity of electrical outlets.
By choosing the right type of under cabinet lighting, you can enhance your kitchen’s functionality and style. Whether you prefer the modern look of LED strip lights, the focused glow of puck lights, or the simplicity of plug-in fixtures, there’s an option for every need and budget.
Planning Your Under Cabinet Lighting Installation
Proper planning is the key to a successful under cabinet lighting installation. By taking the time to evaluate your space, select the best lighting style, and consider your budget and electrical needs, you can achieve a stunning and functional result. Let’s dive into the steps to prepare for this exciting upgrade.

Assessing Your Kitchen Layout
Before you start, it’s important to understand your kitchen’s design and structure:
- Identify Shaded Areas: Look for dark spots under your cabinets where lighting would make the most difference.
- Measure Cabinet Dimensions: Note the length and depth of the cabinets to determine the size and type of lights you’ll need.
- Consider the Placement: Think about whether you want the lights closer to the backsplash for ambiance or near the front edge for task lighting.
- Plan for Multiple Zones: Larger kitchens may benefit from dividing the lighting into separate zones for better control.
Choosing the Right Lighting Style for Your Needs
Selecting the right type of under cabinet lighting depends on your goals:
- Task Lighting: For focused illumination during food prep or cooking, opt for LED strip lights or bright puck lights.
- Ambient Lighting: To add warmth and atmosphere, consider dimmable fixtures or soft white LEDs.
- Decorative Lighting: Highlight beautiful backsplashes or décor with low-profile fixtures.
Pro Tip: Combine different lighting styles for a versatile and layered effect.
Setting a Budget
Under cabinet lighting can range from affordable DIY options to more premium setups:
- Determine Your Spending Limit: Set a realistic budget based on your needs and kitchen size.
- Weigh Upfront Costs vs. Longevity: While LED lights may cost more initially, their energy efficiency and durability can save you money in the long run.
- Include Installation Costs: If you’re hiring a professional, account for labor expenses.
Budget-Friendly Tip: Plug-in and battery-operated lights are cost-effective options that still deliver great results.
Understanding Electrical Requirements and Safety
Installing under cabinet lighting involves electrical work, so safety is crucial:
- Check Local Building Codes: Ensure your project complies with any local electrical regulations.
- Assess Power Availability: Identify existing outlets and whether you’ll need additional wiring or junction boxes.
- Use GFCI Protection: Kitchens are prone to moisture, so ground fault circuit interrupters (GFCI) are essential for safety.
- Hire a Professional if Needed: If you’re unsure about wiring, it’s best to consult a licensed electrician to avoid potential hazards.
Safety First: Always turn off the power at the circuit breaker before starting any electrical work.
By thoroughly planning your under cabinet lighting installation, you’ll save time, money, and effort while ensuring the final result is both beautiful and functional. Whether you’re enhancing a compact kitchen or upgrading a spacious one, proper preparation will set you up for success!
Tools and Materials Required
Before diving into your under cabinet lighting installation, make sure you have all the necessary tools and materials ready. Proper preparation not only saves time but also ensures a smoother installation process.
Tools Needed
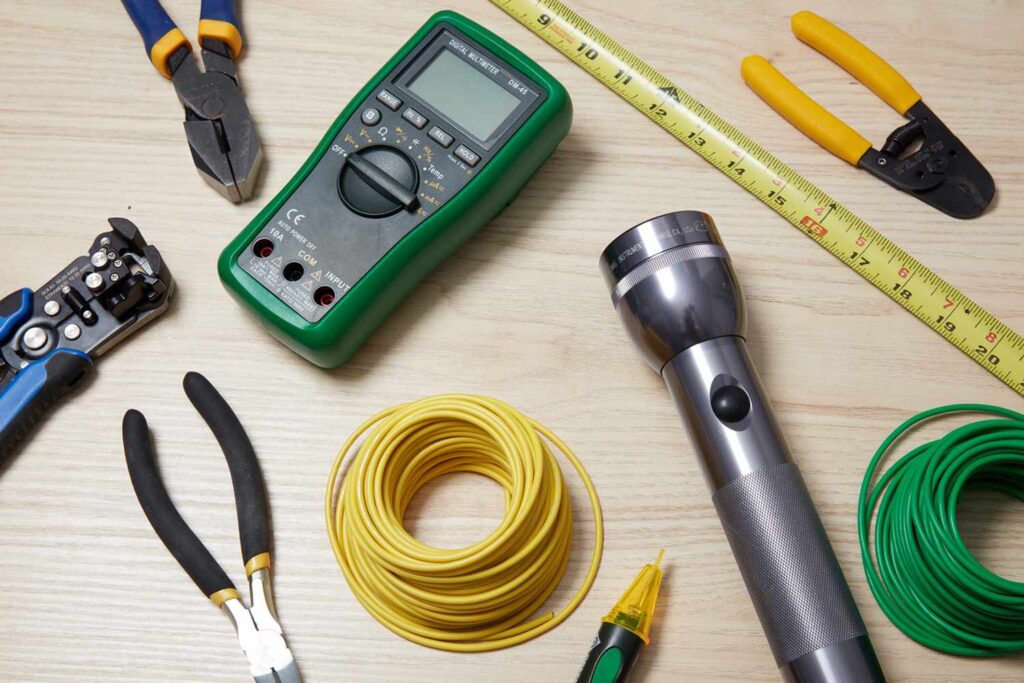
Having the right tools at hand is essential for a successful and efficient installation. Here’s what you’ll need:
- Drill: For creating holes to run wires and mount fixtures.
- Screwdriver: To attach brackets, fixtures, and other components.
- Wire Strippers: For safely removing insulation from wires during connections.
- Measuring Tape: To ensure accurate placement and alignment.
- Utility Knife: For cutting wires, trim, or adhesive backing.
- Level: To confirm fixtures are mounted straight.
- Pencil or Marker: To mark measurements and drilling points.
- Safety Gear: Gloves and safety goggles to protect yourself during installation.
Materials Checklist
Gathering the correct materials ensures your project goes smoothly without mid-installation trips to the store. Here’s a comprehensive list:
Lights
Choose your preferred type of under cabinet lighting, such as LED strip lights, puck lights, or fluorescent fixtures.
Wires
Electrical wires for connecting fixtures to the power source. Make sure to get the appropriate gauge based on your lighting setup.
Junction Boxes
Essential for creating safe electrical connections and housing wires.
Dimmer Switch (Optional)
For adjustable brightness levels, enhancing both functionality and ambiance.
Mounting Hardware
Screws, brackets, or adhesive strips (depending on your lighting type) to securely attach the fixtures to the cabinets.
Cable Connectors
To protect and organize wires while running them through cabinets or walls.
Electrical Tape
For insulating connections and ensuring safety.
Pro Tip
Double-check your tools and materials before starting the project. Missing even a small item like screws or connectors can cause delays. By organizing everything beforehand, you’ll set yourself up for a hassle-free installation experience!
With the right tools and materials, you’re ready to move on to installing your under cabinet lighting. Let’s light up your kitchen!
Step-by-Step Installation Guide
Installing under cabinet lighting may seem daunting, but by following these simple and clear steps, you’ll have your kitchen glowing in no time. Let’s walk through the process step by step.
Step 1: Locate a Power Source
Identifying the Closest Power Outlet or Junction Box
- Start by finding an existing power source in your kitchen. Look for nearby outlets or junction boxes under cabinets or behind appliances.
- Ensure the chosen power source can handle the additional load of your new lighting.
Pro Tip: If there’s no accessible power source, you may need to run a new circuit. Consult an electrician for assistance.
Step 2: Prepare Your Workspace
Turn Off the Power
- Safety first! Switch off the power at the circuit breaker to avoid any electrical hazards during installation.
- Test the area with a voltage tester to ensure no current is flowing.
Clear and Measure the Area
- Remove items from your countertops and cabinets to create a clean and accessible workspace.
- Use a measuring tape to determine the exact lengths needed for your lighting fixtures and wiring.
Step 3: Plan the Wiring Route
Marking Wiring Paths
- Map out where your wires will run, considering the shortest and most concealed paths for a tidy finish.
- Use a pencil to mark areas on the cabinet or wall where drilling and wiring will take place.
Drilling Access Holes
- Carefully drill holes in your cabinets or walls where wires need to pass through.
- Use a level to ensure straight lines for a professional look.
Step 4: Install Junction Boxes
Adding New Electrical Boxes
- If required, install new junction boxes to house electrical connections. Ensure these are securely mounted.
Connecting Power to the Junction Box
- Run the electrical cable from your chosen power source into the junction box. Use cable connectors to secure and protect the wiring.
Step 5: Mount the Fixtures
Attaching the Fixtures to the Cabinets
- Position your lighting fixtures under the cabinets and secure them with screws, brackets, or adhesive as needed.
- Follow the manufacturer’s instructions for mounting hardware placement.
Hiding the Wires for a Clean Look
- Tuck the wires neatly along the edges or behind the cabinets. Use cable clips or adhesive wire covers to keep them in place and out of sight.
Step 6: Wire the Lights
Connecting the Fixtures to Power
- Connect the wires from the fixtures to the power cables in the junction box. Match the wire colors: black to black (live), white to white (neutral), and green to green (ground).
Wiring the Dimmer or Switch
- If using a dimmer or wall switch, wire it according to the manufacturer’s instructions. Test the dimmer to ensure it adjusts the light intensity smoothly.
Step 7: Test and Troubleshoot
Testing Connections
- Turn the power back on at the circuit breaker and test the lights. Verify they turn on and off without flickering or dimming unexpectedly.
Fixing Common Installation Issues
- If a light doesn’t work, double-check the wiring connections and ensure all screws and fixtures are securely in place.
- Look for any loose wires or improper connections, and make adjustments as necessary.
By following this step-by-step guide, you’ll enjoy a well-lit and beautifully upgraded kitchen. Take your time, prioritize safety, and enjoy the satisfaction of a job well done!
Optional: Advanced Customizations
Once you’ve installed the basic under cabinet lighting, why not take it to the next level? Adding advanced features not only enhances your kitchen’s functionality but also gives you more control over your lighting experience. Here are some exciting customizations you can consider:
Installing Smart Lighting Systems
Why Go Smart?
Smart lighting systems allow you to control your under cabinet lights remotely via a smartphone app or voice commands through devices like Amazon Alexa or Google Assistant. Here’s how you can upgrade to smart lighting:
- Choose Compatible Smart Lights: Select LED strips or puck lights that are compatible with smart home platforms.
- Set Schedules: Program your lights to turn on and off at specific times, saving energy and ensuring your kitchen is always well-lit when you need it.
- Adjust Brightness and Color: Smart systems let you adjust the brightness or even the color of your under cabinet lights, allowing you to create the perfect ambiance.
- Integration with Other Smart Devices: Link your lights with other smart devices in your home, such as motion detectors or smart thermostats, for a fully connected kitchen experience.
Adding Motion Sensors
Hands-Free Convenience
- Motion sensors are an excellent addition to under cabinet lighting, offering hands-free activation. Here’s how motion sensors can improve your setup:
- Automatic Activation: Lights turn on automatically when motion is detected, making them ideal for busy kitchens where your hands may be full.
- Energy Efficiency: Motion sensors ensure your lights are only on when needed, helping you save on energy costs.
- Easy to Install: Simply place the motion sensor in a discreet location and connect it to your existing lighting system.
- Customizable Settings: Some sensors allow you to adjust the sensitivity and time delay, ensuring the lights stay on as long as you need them.
Color-Changing LED Options
Add Style and Flexibility
Color-changing LEDs are a fun and stylish option for under cabinet lighting, allowing you to switch between different colors to suit your mood, task, or occasion:
- .
- Personalize Your Space: Change the color of your lights to match your kitchen décor or your personal preferences, from warm whites for cooking to vibrant hues for entertaining.
- Create Ambiance: Use softer colors for a relaxed atmosphere, or opt for brighter, cooler tones when you need focused task lighting.
- Control with an App: Many color-changing LED systems come with apps, so you can customize the color and brightness right from your phone.
- Perfect for Special Occasions: Whether it’s a dinner party or a holiday gathering, color-changing lights can enhance the mood and create a unique setting.
By incorporating these advanced features, you can customize your under cabinet lighting to better meet your lifestyle and needs. From smart controls and motion sensors to color-changing LEDs, these enhancements take your kitchen lighting to a whole new level of convenience, energy efficiency, and style.
Maintenance and Care Tips
Under cabinet lighting is a great addition to your kitchen, but like any feature, it requires regular maintenance to stay in top shape. Here are simple tips to keep your lights shining bright for years to come.
Cleaning the Fixtures
Why Regular Cleaning Matters
Dust, grease, and grime can accumulate on your fixtures over time, especially in a kitchen environment. This can reduce light output and diminish the overall appearance of your lighting.
How to Clean Your Fixtures
- Turn Off the Power: Always switch off the power before cleaning to avoid accidents.
- Use a Soft Cloth: Wipe the fixtures gently with a microfiber cloth to remove dust.
- For Grease or Stains: Dampen the cloth with a mild soap solution and carefully clean the surface. Avoid using abrasive cleaners that can damage the finish.
- Clean the Bulbs or LED Strips: If accessible, gently wipe the bulbs or LED strips to remove any buildup.
Pro Tip: Clean your fixtures regularly to maintain their brightness and efficiency.
Replacing Bulbs or Parts
When to Replace Bulbs
- If your lights start to dim or flicker, it may be time to replace the bulbs.
- LED lights last longer but will eventually lose brightness after years of use.
Steps to Replace Bulbs or Parts
- Turn Off the Power: Ensure safety by switching off the power supply.
- Remove the Old Bulb: Carefully twist or pull out the bulb, depending on the fixture type.
- Install the New Bulb: Choose a replacement bulb with the same wattage and size as the original. For LEDs, make sure the color temperature matches your existing lights.
- Check Other Parts: If a fixture or wire is damaged, consider replacing the specific part to maintain safety and functionality.
Pro Tip: Always keep a few spare bulbs on hand for quick replacements.
Troubleshooting Flickering Lights
Why Lights Flicker
Flickering lights can be caused by several issues, including loose connections, incompatible dimmers, or aging bulbs.
How to Fix Flickering Lights
- Check the Bulbs: Ensure the bulbs are securely installed and not nearing the end of their lifespan.
- Inspect Wiring Connections: Loose or faulty wiring can lead to flickering. Tighten connections in the junction box or fixture.
- Test the Dimmer Switch: If you’re using a dimmer, ensure it’s compatible with your lighting type (e.g., LEDs require specific dimmers).
- Replace Faulty Parts: If the issue persists, consider replacing the affected fixture or consulting an electrician.
Pro Tip: Address flickering issues promptly to prevent further damage to your lighting system.
With these maintenance and care tips, your under cabinet lighting will remain efficient, stylish, and functional. Regular cleaning, timely replacements, and quick troubleshooting ensure that your lights stay a bright feature in your kitchen.
Conclusion
Adding under cabinet lighting to your kitchen is more than just a functional upgrade—it’s a transformative change that enhances the look, feel, and usability of your space. With the right planning, tools, and techniques, you can achieve professional-level results and enjoy the benefits for years to come.
Share Your Experience!
Have you installed cabinet lighting in your kitchen? We’d love to hear about your journey!
- Share your before-and-after photos to inspire others.
- Got tips or tricks? Let the community know what worked best for you.
- If you have questions or run into challenges, drop them in the comments—we’re here to help!
Lighting up your kitchen is a rewarding DIY project that makes a lasting impact. Start today and experience the difference under cabinet lighting can make in your home.


![How Much Does It Cost to Paint Kitchen Cabinets? [Average Prices & Tips] 7 how much does it cost to paint kitchen cabinets](https://uptrendhome.com/wp-content/uploads/2024/12/cream-kitchen-cabinets-paintzen-768x512.jpg)
