How Long to Wait Before Painting Pressure Treated Wood
Introduction
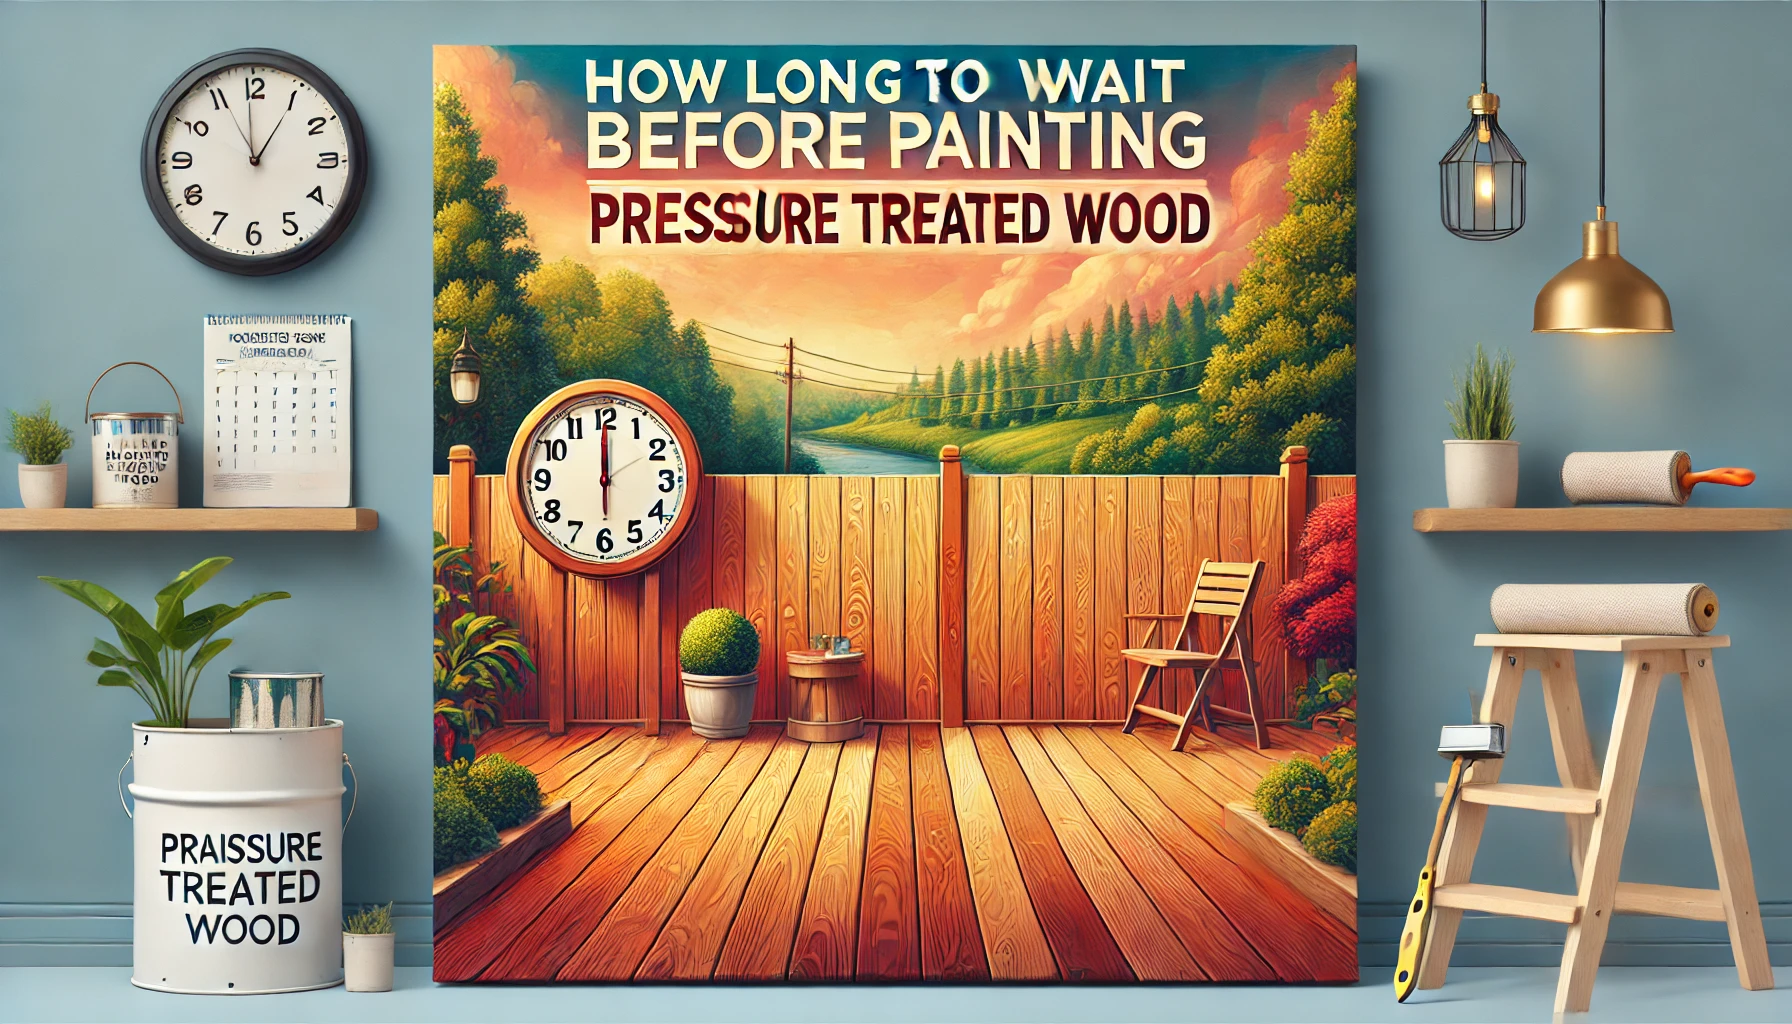
Yes, you can paint pressure-treated wood, but it’s important to know that timing makes all the difference. Pressure-treated wood is designed to resist rot and insects, but the same treatment that protects the wood can make it harder for paint to stick. This is why understanding when and how to paint is so important.
If you try to paint the wood too soon, the paint might peel or not adhere properly. But don’t worry! With the right timing and preparation, you can give your deck, fence, or outdoor furniture a beautiful, long-lasting finish.
In this blog, you’ll learn why waiting is essential, how to tell if the wood is ready for painting, and step-by-step tips to make your project a success. Whether you’re a DIY enthusiast or just trying to improve your outdoor space, these tips will help you get the best results.
Understanding Pressure-Treated Wood
Pressure-treated wood is a type of lumber that’s been specially treated to resist rot, decay, and insect damage. It’s a popular choice for outdoor projects like decks, fences, and playgrounds because it lasts longer than untreated wood. If you’re considering a home improvement project, such as calculating the cost to paint kitchen cabinets, understanding the preparation process for different materials like wood is equally important.
The treatment process involves placing the wood in a sealed chamber and forcing preservative chemicals deep into the fibers under high pressure. These chemicals protect the wood from moisture and pests, but they also leave it wet, which is why it’s important to wait before painting.
You’ll often see pressure-treated wood used for outdoor projects where durability is key. Decks, picnic tables, and garden beds are just a few examples. It’s a practical and affordable option, but it does need proper preparation if you plan to paint it.
Why You Need to Wait Before Painting
Pressure-treated wood holds a lot of moisture because of the chemicals used during the treatment process. This moisture helps the chemicals penetrate the wood, but it also makes the surface unsuitable for painting right away.
If you paint the wood too soon, the moisture can push the paint off, causing it to peel or bubble. Not only does this ruin the look, but it also means the wood won’t be properly protected. Waiting until the wood is dry ensures the paint can bond well and provide a durable finish.
So, how can you tell if the wood isn’t ready yet? Look for signs like water beading up on the surface, a damp feel, or a noticeable weight to the wood. When the wood is completely dry, it will absorb water instead of repelling it, and it will feel lighter and dry to the touch. Patience is key to a smooth and long-lasting paint job!
How Long to Wait Before Painting Pressure-Treated Wood
Patience is essential when it comes to painting pressure-treated wood. The general rule of thumb is to wait anywhere from 4 to 12 weeks, depending on the wood’s moisture content and environmental conditions. This waiting period allows the wood to dry out completely so the paint can adhere properly.
Several factors can influence how long the drying process takes:
- Weather Conditions
If you live in a humid or rainy area, the drying time will be longer because the wood absorbs extra moisture from the air. In contrast, dry and sunny climates help the wood dry faster. - Type of Treatment
The specific chemicals used during the pressure-treating process can also impact drying time. Some treatments hold more moisture than others, so the wood might need extra time to dry. - Wood Thickness
Thicker pieces of wood, like deck posts, take longer to dry compared to thinner boards. This is because the moisture trapped inside takes more time to evaporate. - Regional Climate Considerations
In dry areas like deserts, the wood might be ready in as little as 4 weeks. However, in humid regions or during rainy seasons, it could take closer to 12 weeks—or even longer.
To ensure the wood is ready, always test it before painting. The water bead test is a simple way to check: sprinkle water on the wood, and if it soaks in rather than forming beads, the wood is likely dry enough to paint. Taking the time to wait will save you from the frustration of peeling or bubbling paint down the line.
How to Test If Pressure-Treated Wood Is Ready for Painting
Before painting pressure-treated wood, it’s important to check if it’s completely dry. Here are three simple ways to test the wood:
1. The Water Bead Test
This is the easiest way to check. Sprinkle a small amount of water on the surface of the wood. If the water beads up and stays on the surface, the wood is still too wet for painting. If the water soaks in quickly, the wood is likely dry enough and ready for paint or stain.
2. Using a Moisture Meter
For a more accurate test, you can use a moisture meter, a handy tool that measures the moisture content inside the wood. Look for a reading of 15% or lower—this indicates that the wood is dry enough to paint. Moisture meters are easy to find at hardware stores and are a good investment if you’re working on multiple wood projects.
3. Visual and Tactile Inspections
Sometimes, you can tell by simply looking and feeling the wood. Dry wood will feel lighter and less damp to the touch. It may also appear less shiny compared to wet wood. Keep in mind, though, that visual and tactile checks are less reliable than the water bead test or a moisture meter.
Taking the time to test ensures that your paint will stick properly and last for years. A little extra effort now can save you from peeling or chipping paint later!
How to Prepare Pressure-Treated Wood for Painting
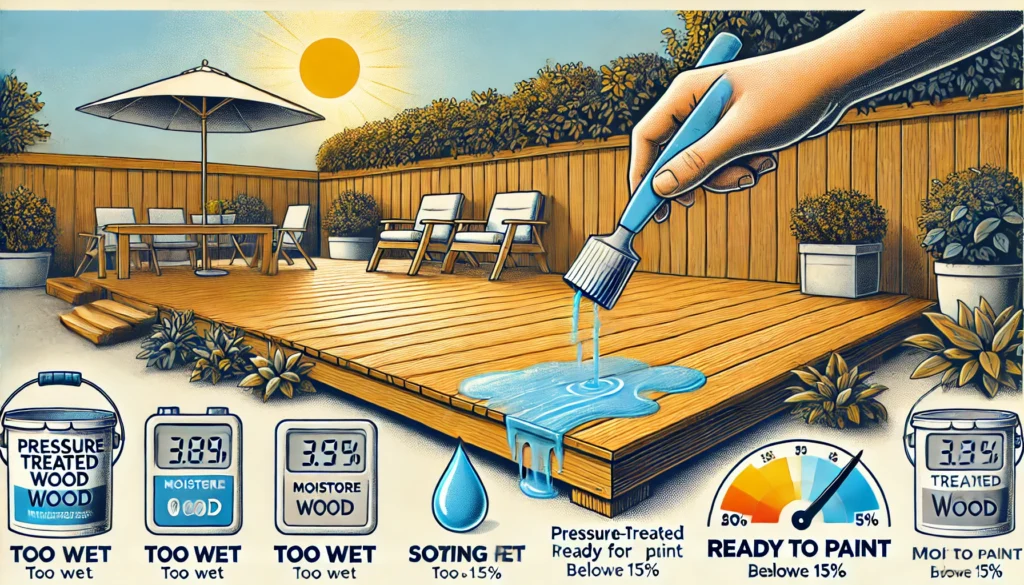
Proper preparation is the key to a long-lasting paint job on pressure-treated wood. Here’s a step-by-step guide to getting the surface ready:
1. Cleaning the Wood Surface
Start by cleaning the wood thoroughly to remove dirt, dust, and debris. Use a mild detergent mixed with water and a stiff brush to scrub the surface. For tough stains or mildew, you can use a wood cleaner or a mixture of water and vinegar. Rinse the wood well and let it dry completely before moving on to the next step.
2. Removing Any Remaining Chemicals or Residues
Pressure-treated wood may have leftover chemicals from the treatment process. To remove these, you can use a deck cleaner or wood brightener. These products help break down residues and prepare the surface for paint or primer. Follow the manufacturer’s instructions carefully and rinse the wood thoroughly after application.
3. Sanding and Priming Tips for a Smooth Base
After cleaning, lightly sand the wood to create a smooth surface and remove any splinters. Use medium-grit sandpaper (around 120-150 grit) for best results. Sanding also helps open up the wood’s pores, allowing the primer and paint to adhere better.
Once sanding is complete, apply a high-quality primer designed for pressure-treated wood. Primer helps seal the surface, provides a smooth base for paint, and improves adhesion. Be sure to let the primer dry completely before applying the topcoat.
By taking these preparation steps, you’ll ensure that your paint job not only looks great but also stands up to weather and wear over time.
The Best Types of Paint and Primer for Pressure-Treated Wood
Choosing the right paint and primer is crucial when working with pressure-treated wood. The right products will ensure the paint adheres well and lasts for years without peeling or fading. For inspiration, you might explore the Top 20 Kitchen Paint Colors, which can help you choose durable and stylish options for various wood surfaces.
1. Recommended Paint Types: Oil-Based vs. Latex
- Latex Paint: Latex (or water-based) paint is often the best choice for pressure-treated wood. It’s flexible, breathable, and resistant to cracking over time. Latex paint also dries quickly and is easier to clean up.
- Oil-Based Paint: While durable, oil-based paint is less breathable, which can trap moisture in the wood and cause peeling. It’s better suited for non-pressure-treated wood or areas with very low humidity.
For pressure-treated wood, latex paint is usually preferred because it works well with the wood’s tendency to expand and contract due to temperature and moisture changes.
2. Primer Options and Their Importance
Using a primer specifically designed for pressure-treated wood is essential for a long-lasting finish. The primer helps seal the wood and blocks any remaining chemicals or sap from bleeding through the paint.
- Oil-Based Primer: Provides excellent adhesion and stain-blocking properties. It’s a good choice if you’re painting over older pressure-treated wood or wood with visible knots.
- Latex Primer: Works well with latex paint and is ideal for new pressure-treated wood that has fully dried.
Applying a primer not only improves the durability of the paint but also enhances the color’s vibrancy and coverage. Always ensure the primer is fully dry before applying the paint.
By using the right combination of primer and paint, you’ll achieve a smooth, professional finish that can handle the elements and keep your wood looking great for years.
Step-by-Step Guide to Painting Pressure-Treated Wood
Painting pressure-treated wood can seem daunting, but with the right tools and a clear process, you’ll get a smooth, long-lasting finish. Here’s your complete step-by-step guide:
1. Tools and Materials Needed
- Paintbrushes (2-4 inch brushes for edges and corners)
- Paint rollers (for large, flat surfaces)
- Drop cloths or plastic sheets (to protect surrounding areas)
- Ladder (for reaching high places like deck rails)
- Painter’s tape (for clean edges)
- Primer (designed for pressure-treated wood)
- Paint (latex or oil-based, depending on your choice)
- Sandpaper (medium grit for smoothing the wood)
- Cleaning supplies (mild detergent, scrub brush, hose or power washer)
2. Detailed Painting Process (From Preparation to Application)
- Clean the Wood
Start by thoroughly cleaning the wood, as mentioned earlier. Remove dirt, mildew, and debris using a brush and mild detergent solution. Rinse and allow the wood to dry completely. - Sand the Surface
Lightly sand the wood to create a smooth surface. This helps the primer and paint adhere better. Sand along the grain and focus on any rough or splintered spots. Wipe down the wood to remove sanding dust. - Apply Primer
Using a brush or roller, apply a coat of primer designed for pressure-treated wood. This step is crucial to block chemicals and ensure the paint sticks properly. Allow the primer to dry completely (follow the manufacturer’s recommended drying time). - Paint the Wood
Once the primer is dry, it’s time to apply your paint. Start with a brush for edges and corners, then use a roller for the larger surfaces. Apply the paint in thin, even coats to avoid drips and streaks. Let each coat dry before applying another, ensuring a solid and smooth finish. - Apply Additional Coats (If Needed)
Depending on the paint and the wood, you may need to apply two or more coats. Ensure each coat is fully dry before adding another to prevent smudging or peeling. - Touch Up and Clean
After the final coat has dried, touch up any spots that need extra coverage. Clean your tools, and remove any painter’s tape carefully to avoid peeling the paint.
3. Tips for Achieving a Durable and Professional Finish
- Work in Good Weather: Ideal conditions for painting are dry, mild weather (temperatures between 50-85°F or 10-29°C). Avoid painting in direct sunlight, which can cause the paint to dry too quickly and crack.
- Apply Thin, Even Coats: Multiple thin coats of paint are better than one thick coat. This ensures the paint adheres well and dries properly.
- Allow Sufficient Drying Time: Make sure each layer of primer and paint is completely dry before applying the next. This prevents smudging and ensures good adhesion.
- Use Quality Paint: Investing in high-quality paint and primer designed for outdoor use will yield the best results.
By following this step-by-step guide, you’ll end up with a professional-looking paint job that protects and beautifies your pressure-treated wood for years to come.
Common Mistakes to Avoid When Painting Pressure-Treated Wood
Painting pressure-treated wood can be a great way to enhance its appearance and durability, but there are a few common mistakes that can ruin your project. Here are the key things to avoid:
1. Painting Too Soon
One of the biggest mistakes is painting before the wood is fully dry. Pressure-treated wood often contains moisture, which can interfere with the paint’s adhesion and cause it to peel or bubble. Always wait until the wood is completely dry (usually 4-12 weeks) before applying paint. To be sure, use a water bead test or a moisture meter to check if the wood is ready.
2. Skipping the Primer
While it might be tempting to skip the primer to save time, this is a critical step. Primer helps seal the wood and ensures that the paint sticks properly. Without primer, the paint may peel off quickly, especially in outdoor conditions. Always use a primer designed for pressure-treated wood to achieve the best results.
3. Ignoring Weather Conditions During Application
Painting in unfavorable weather conditions can lead to poor results. Avoid painting on rainy days or in direct sunlight, as these can cause the paint to dry too quickly, leading to streaks and an uneven finish. Ideal conditions for painting are dry, mild days (between 50-85°F or 10-29°C). Make sure you check the forecast before starting your project.
By avoiding these common mistakes, you’ll increase the chances of achieving a smooth, long-lasting finish on your pressure-treated wood. Taking the time to follow the proper steps will ensure your paint job stays beautiful and intact for years to come.
Maintenance Tips for Painted Pressure-Treated Wood
Once you’ve successfully painted your pressure-treated wood, maintaining it is key to ensuring your hard work lasts. Here are some helpful tips to keep your paint job looking great for years:
1. How to Prolong the Life of Your Paint Job
- Apply a Clear Sealer: After the paint has fully dried, consider applying a clear protective sealer to add an extra layer of protection against the elements. This will help prevent fading and damage from UV rays, rain, and humidity.
- Repaint Every Few Years: Even the best paint jobs will eventually need a touch-up. Depending on your climate, plan to repaint every 3-5 years to keep your wood looking fresh and protected.
2. Identifying and Repairing Paint Issues (Peeling, Chipping)
- Check for Damage Regularly: Inspect the painted wood periodically for signs of wear, such as peeling, cracking, or chipping paint. These issues can happen over time due to exposure to moisture and temperature changes.
- Repairing Peeling Paint: If you notice peeling or chipping paint, lightly sand the affected area to remove loose paint, then clean the surface and apply a new coat of primer and paint. Always allow adequate drying time between coats to avoid further damage.
- Fixing Cracks: For cracks, use wood filler or caulk to fill in the gaps. Once the filler has dried, sand the area smooth and repaint for a seamless look.
3. Regular Cleaning and Care
- Clean the Surface: Regularly clean your painted wood to remove dirt, mildew, and other debris. Use a soft-bristle brush and a mixture of water and mild detergent for gentle cleaning. Avoid using harsh chemicals that could damage the paint.
- Rinse Off Moisture: After cleaning, rinse the surface thoroughly and let it dry. This helps prevent moisture from soaking into the wood, which can lead to peeling or warping.
- Trim Overhanging Branches: If your painted wood is near trees or plants, trim any overhanging branches that might cause damage or prevent sunlight from drying the wood after rain.
By following these simple maintenance tips, you’ll keep your pressure-treated wood looking beautiful and ensure your paint job stands the test of time. Regular care not only improves the appearance but also helps protect your investment from weather damage.
Frequently Asked Questions (FAQs)
Conclusion
Summary of Key Points
Painting pressure-treated wood requires patience and proper preparation. Wait until the wood is dry, clean and sand the surface, and use a good primer and paint designed for pressure-treated wood. This will ensure a smooth, long-lasting finish.
Final Advice for Homeowners and DIYers
Take the time to test the wood for dryness, choose the right products, and follow the step-by-step process. Proper preparation and maintenance will save you from future issues like peeling or cracking paint.
Encouragement to Follow the Recommended Process for the Best Results
By following the recommended steps, you’ll achieve a beautiful and durable paint job on your pressure-treated wood that will last for years to come. Patience and care are key!

