how to clean kitchen cabinets without removing finish
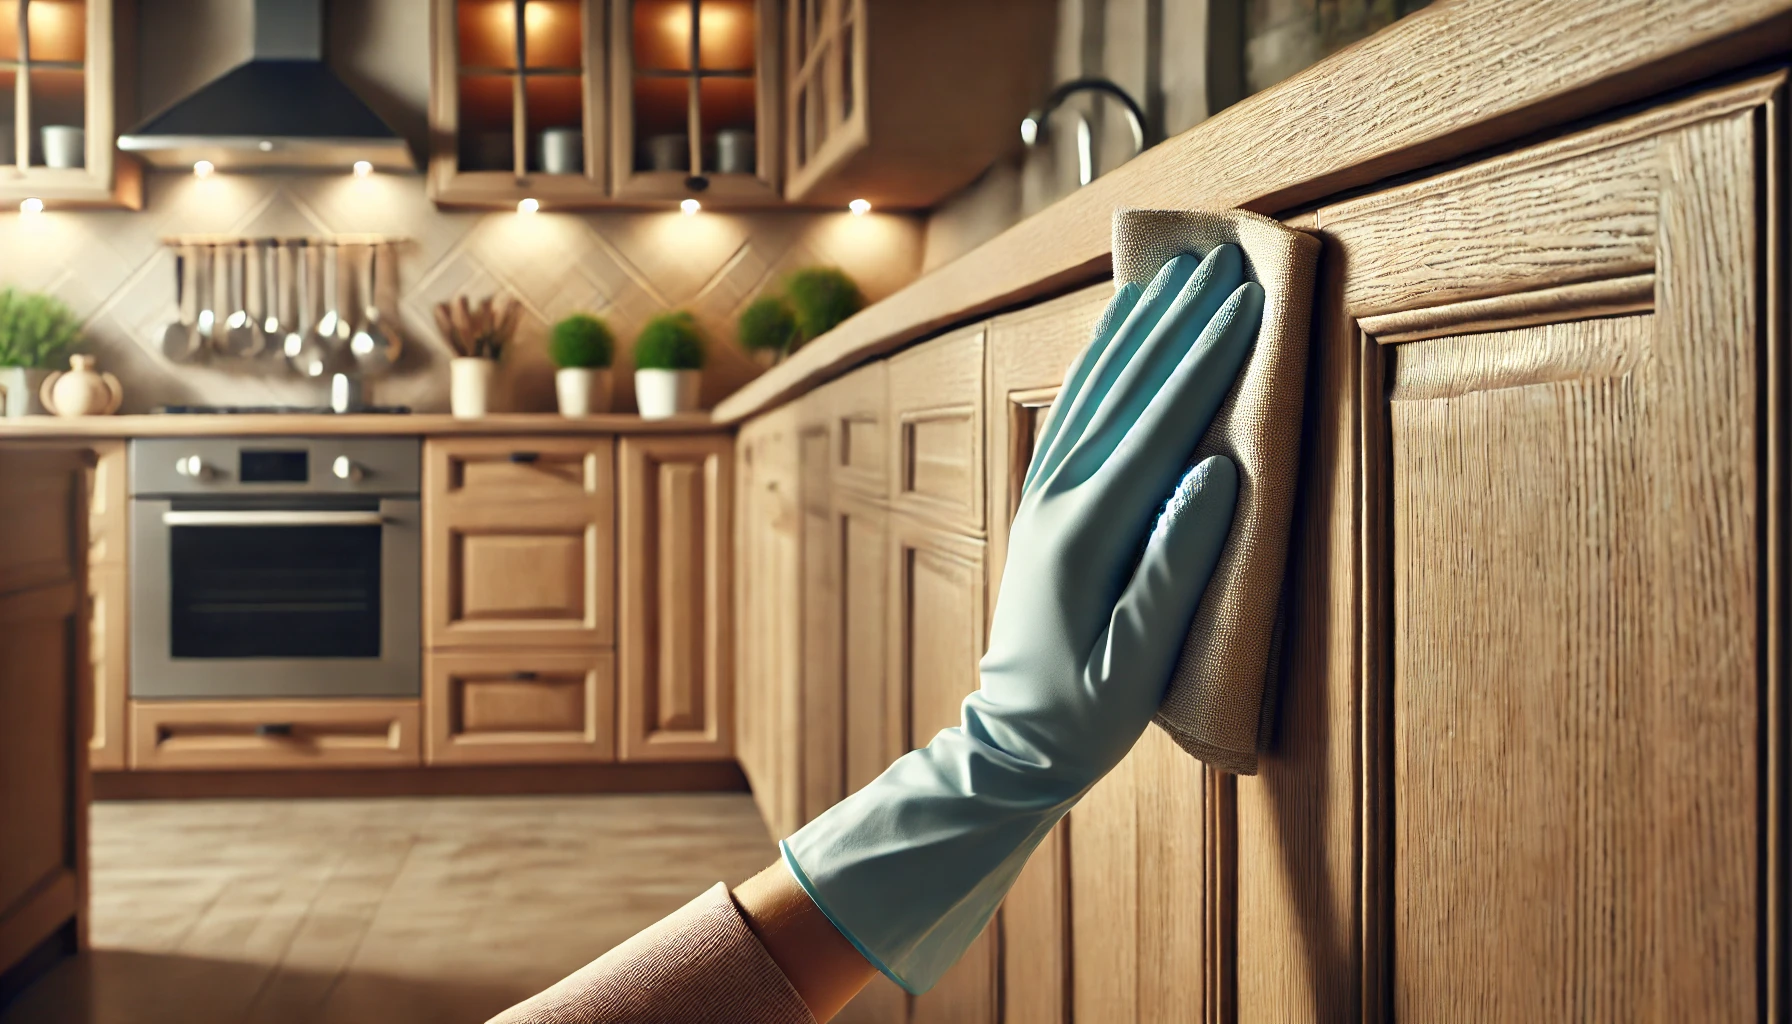
Introduction: Why Proper Cabinet Cleaning Matters
Cleaning your kitchen cabinets might seem like a routine task, but doing it properly plays a vital role in preserving their appearance, functionality, and longevity. Whether your cabinets are made from wood, laminate, or painted surfaces, the way you clean them can significantly impact their overall condition. Using the right methods and products ensures that the finish remains intact, preventing damage and avoiding unnecessary repairs or refinishing.
Maintaining the Beauty and Integrity of Your Cabinets
Cabinets are one of the most noticeable features in a kitchen, so it’s crucial to maintain their aesthetic appeal. Regular cleaning helps retain their natural shine, color, and texture. By removing grease, grime, and other residues, you can prevent build-up that could dull the surface or cause discoloration. Proper cleaning also helps to keep cabinet hardware, such as handles and hinges, in good working condition, ensuring they continue to function smoothly.
In addition to enhancing the look of your cabinets, proper cleaning extends their lifespan. By avoiding harsh chemicals and excessive moisture, you protect the finish from wear and tear, which can result in peeling, cracking, or warping. When done correctly, cleaning not only restores your cabinets but also preserves their value, saving you money on paint cost or replacements in the future.
Common Mistakes to Avoid When Cleaning Kitchen Cabinets
While cleaning your kitchen cabinets may seem straightforward, there are several common mistakes that can lead to lasting damage if you’re not careful. Avoid these pitfalls to maintain the integrity of your cabinets:
- Using Harsh Chemicals: Many commercial cleaners contain abrasive ingredients that can scratch or discolor the cabinet surface, especially on painted or stained finishes. Always opt for gentle, non-abrasive solutions.
- Over-Wetting the Cabinets: Excess moisture can seep into seams and joints, causing wood to swell, warp, or even rot. It’s important to use a damp cloth, not a soaking one, and to dry the surface quickly after cleaning.
- Using Abrasive Scrubbers: Steel wool or rough sponges can damage the finish, leaving behind scratches that are hard to repair. Stick to soft microfiber cloths or sponges designed for delicate surfaces.
- Skipping Regular Cleaning: Letting grime and dust accumulate over time makes it harder to clean and could lead to permanent damage. Regular maintenance is key to keeping your cabinets looking their best.
By avoiding these common mistakes, you’ll help maintain the beauty and integrity of your kitchen cabinets for years to come.
Understanding Cabinet Finishes: What You Need to Know
Before you start cleaning your kitchen cabinets, it’s important to understand the different types of finishes your cabinets may have. The finish not only affects the appearance of your cabinets but also influences how they should be cleaned and maintained. Using the wrong cleaning methods or products can damage the finish, leading to costly repairs or refinishing. Here, we’ll dive into the various cabinet finishes and their specific cleaning needs.
Types of Cabinet Finishes and Their Cleaning Needs
Cabinets come in a variety of finishes, each with its own unique care requirements. Here’s a breakdown of the most common cabinet finishes and the best ways to clean them:
1. Wood Finishes (Stained, Varnished, or Sealed)
Wood finishes give cabinets a rich, natural look but require special care to avoid water damage or dulling.
- Cleaning Tips:
- Use a gentle, wood-safe cleaner or a mild soap-and-water solution.
- Avoid excessive moisture to prevent warping.
- A soft cloth or microfiber towel is ideal for wiping down these cabinets.
- What to Avoid:
- Harsh chemicals and abrasive cleaners that can strip the finish or cause scratches.
2. Painted Finishes
Painted cabinets offer a smooth, uniform appearance but are susceptible to chipping and staining.
- Cleaning Tips:
- Use a mild detergent diluted in warm water.
- Wipe surfaces with a soft sponge or cloth.
- For tough stains, a mixture of baking soda and water works as a gentle abrasive cleaner.
- What to Avoid:
- Strong solvents that could cause the paint to peel or discolor over time.
3. Laminated Finishes
Laminated cabinets are durable, easy to clean, and resistant to stains and moisture.
- Cleaning Tips:
- Clean with a damp cloth or sponge, avoiding soaking the surface.
- Mild dish soap is effective for everyday cleaning.
- What to Avoid:
- Harsh scrubbing pads that can scratch the laminate surface.
4. Glass-Front Cabinets
Glass-front cabinets add an elegant touch but are prone to fingerprints, smudges, and dust accumulation.
- Cleaning Tips:
- Use a glass cleaner or a vinegar-water solution to remove streaks and smudges.
- A microfiber cloth helps to prevent streaking.
- What to Avoid:
- Abrasive pads that can scratch the glass.
5. Metal Finishes
Some kitchen cabinets feature metal finishes, such as stainless steel, requiring special care to maintain their shine.
- Cleaning Tips:
- Use a cleaner specifically designed for stainless steel or a vinegar-water solution.
- Always clean in the direction of the grain to avoid streaks.
- What to Avoid:
- Chlorine-based cleaners that can cause discoloration.
The Impact of Harsh Cleaners on Cabinet Finishes
While harsh cleaners may seem like an effective way to remove dirt and stains, they can cause significant damage to your cabinet finishes, especially over time. Here’s how abrasive or chemical-heavy products can negatively impact your cabinets:
- Discoloration
Many harsh cleaners contain chemicals that can bleach or discolor the finish, leaving unsightly spots or uneven coloring. This is especially true for wood and painted cabinets, where the finish can be stripped or altered by strong cleaning agents. - Surface Damage
Abrasive cleaning products, such as steel wool or scrubbing pads, can scratch the surface of your cabinets. For wood or painted finishes, these scratches can be permanent, making it difficult to restore the original appearance. - Dulling of the Finish
Some cleaners, especially those with high chemical content, can strip the protective layer of the finish, leading to a dull appearance. Over time, this can make your cabinets look worn out, reducing their overall appeal. - Wood Damage
Harsh cleaners can penetrate the wood’s protective finish, causing swelling or cracking. This is particularly dangerous for wood cabinets, as water or chemical damage can lead to warping or peeling.
To protect your cabinets and ensure they maintain their beauty, always opt for gentle, non-abrasive cleaning solutions that are tailored to the specific finish of your cabinets. Regular care and proper maintenance are essential for preserving the integrity of the finish and extending the life of your cabinets.
How to Clean Kitchen Cabinets Without Stripping Their Finish
Cleaning kitchen cabinets without stripping their finish requires careful attention to the products and techniques used. The goal is to remove dirt, grease, and grime while preserving the integrity of the cabinet’s surface. With the right approach, you can maintain your cabinets’ beauty and ensure their longevity.
Step-by-Step Guide to Cleaning Cabinets Gently
- Start with Dusting and Dry Cleaning
Begin by removing any loose dust or debris from the cabinet surfaces. Use a soft, dry microfiber cloth or a duster to gently wipe down the cabinets. This will prevent dirt from turning into mud when you apply cleaning solutions. - Prepare Your Cleaning Solution
Mix a mild cleaning solution, such as warm water with a small amount of dish soap or a gentle wood cleaner, if you’re dealing with wood cabinets. For painted or laminate finishes, ensure the solution is free from harsh chemicals. Test your cleaning solution on a small, inconspicuous area first to ensure it doesn’t cause any discoloration or damage. - Wipe Down the Cabinets
Dampen your cloth with the cleaning solution and wring it out well so that it’s not soaking wet. Gently wipe down each cabinet, starting from the top and working your way down to avoid dripping. Use long, smooth strokes to ensure that you’re not rubbing too hard on any one spot. - Tackle Crevices and Corners
Use a soft toothbrush or a small paintbrush to clean the crevices around the cabinet edges, knobs, and handles. These areas often trap dust and grime and need extra attention. Make sure the brush is soft to avoid damaging the finish. - Dry the Cabinets Thoroughly
After cleaning, wipe down the cabinets with a dry microfiber cloth to remove any excess moisture. Avoid leaving water on the surface for too long, as it can cause damage, especially to wood finishes. - Buff for Shine
If you want to add a little extra shine to your cabinets, lightly buff the surface with a clean, dry microfiber cloth. This step will restore some of the natural gloss and keep your cabinets looking fresh.
Choosing the Right Tools for the Job
Using the correct tools is key to cleaning your kitchen cabinets without causing any damage. Here’s what you’ll need:
- Microfiber Cloths
Microfiber cloths are ideal because they are soft, absorbent, and lint-free. They won’t scratch the finish or leave behind fibers, making them perfect for both wiping and drying your cabinets. - Soft Brushes
A soft-bristled brush, such as an old toothbrush or a small paintbrush, is essential for cleaning tight spaces, like hinges, knobs, and cabinet joints. Make sure the bristles aren’t too stiff, as this could cause scratches. - Gentle Sponges or Non-Abrasive Pads
Use a soft sponge or non-abrasive cleaning pad for larger areas. These are effective at scrubbing without harming the finish. Avoid any scrubbing pads with a rough texture, as they can scratch delicate surfaces. - Spray Bottles
A spray bottle is useful for applying your cleaning solution evenly across the cabinet surfaces. This helps control the amount of product you’re using and prevents over-wetting the cabinets. - Cotton Towels or Soft Cloths for Drying
After cleaning, you’ll need a soft towel or cloth to dry the cabinets. Cotton towels work well, but microfiber cloths are a great option for absorbing moisture quickly and leaving a streak-free finish.
Effective Cleaning Solutions for Cabinets with Different Finishes
Different cabinet finishes require specific cleaning solutions to prevent damage while effectively removing dirt and grime. Here are some cleaning solutions tailored to common cabinet finishes:
- Wood Cabinets (Stained, Varnished, or Sealed)
- Solution: Mix warm water with a few drops of mild dish soap or use a specialized wood cleaner.
- Why it Works: Wood finishes need gentle care to avoid moisture damage or stripping the finish. Soap and water or wood-safe cleaners clean without compromising the integrity of the surface.
- Tip: After cleaning, apply a wood conditioner or polish if needed to restore the natural luster.
- Painted Cabinets
- Solution: Mix one cup of warm water with a tablespoon of baking soda or use a mild dish soap solution.
- Why it Works: Painted cabinets can be sensitive to chemicals, so it’s important to avoid any harsh cleaners. Baking soda gently lifts stains without damaging the paint.
- Tip: For tougher spots, apply the solution with a soft cloth and let it sit for a few minutes before gently scrubbing.
- Laminate Cabinets
- Solution: Use a mix of warm water and a small amount of dish soap. You can also use a vinegar-water solution for additional cleaning power.
- Why it Works: Laminate is a durable surface, but abrasive cleaners can scratch it. A gentle solution cleans without causing any surface damage.
- Tip: Wipe laminate surfaces thoroughly to avoid streaking or watermarks.
- Glass-Front Cabinets
- Solution: Use a mixture of equal parts water and vinegar or a glass cleaner.
- Why it Works: Glass surfaces are easy to clean and don’t require much effort. Vinegar cuts through streaks and smudges, leaving the glass sparkling clean.
- Tip: Use a microfiber cloth to prevent lint and streaks from forming.
- Stainless Steel Cabinets
- Solution: Use a stainless steel cleaner or a mixture of vinegar and water to remove fingerprints and smudges.
- Why it Works: Stainless steel needs a gentle solution that cleans without leaving streaks. The vinegar solution works well, but make sure to dry the surface immediately to prevent water spots.
- Tip: Always clean in the direction of the grain to avoid streaks.
Using these cleaning solutions with the right tools and techniques ensures that you can clean your kitchen cabinets without compromising their finish. By following these steps, your cabinets will remain in great condition for years to come.
The Dos and Don’ts of Cleaning Kitchen Cabinets
Cleaning kitchen cabinets properly is essential to maintaining their appearance and extending their lifespan. While cabinets are subject to daily use, they are also susceptible to damage from improper cleaning methods. By following a few key dos and don’ts, you can keep your kitchen cabinets looking pristine without causing unnecessary wear or damage.
DO: Use Gentle, Non-Abrasive Cleaning Solutions
When cleaning kitchen cabinets, it’s crucial to choose cleaning solutions that are gentle and non-abrasive. Harsh cleaners and scrubbing pads can damage the finish, leaving scratches or dull spots. A mild dish soap mixed with warm water or a wood-specific cleaner is often sufficient for removing everyday dirt and grease. For stubborn stains, opt for baking soda mixed with water to form a gentle paste. Always test any cleaning solution on an inconspicuous area first to ensure it won’t harm the surface. Gentle cleaners preserve the natural look of your cabinets and avoid stripping away protective finishes.
DON’T: Over-Wet the Cabinets
Excess moisture can be extremely damaging to cabinets, especially those made from wood or painted finishes. When cleaning, avoid soaking your cabinets or allowing water to sit on the surface for extended periods. Wetness can seep into joints, hinges, or seams, leading to swelling, warping, or peeling. To prevent this, use a damp cloth rather than a soaking wet one, and always dry the cabinets promptly with a clean, dry towel. By being mindful of moisture, you’ll help protect the integrity of your cabinet finishes and ensure they remain in excellent condition.
DO: Clean Cabinet Hardware Regularly
Cabinet hardware, including handles, knobs, and hinges, can accumulate grease, grime, and oils from frequent use. Regularly cleaning these parts will not only keep them looking fresh but also prevent the buildup of dirt that can make them harder to clean later on. Use a soft cloth or sponge with mild soap and water to wipe down these areas. For more stubborn grime, a toothbrush can help clean around the small crevices. By keeping hardware clean, you’ll improve the overall appearance of your cabinets and prevent wear on the metal surfaces.
DON’T: Use Harsh Chemicals on Sensitive Finishes
Certain finishes, such as painted or stained wood cabinets, are particularly sensitive to harsh chemicals. Strong cleaning products containing bleach, ammonia, or solvents can strip away paint, discolor wood, or damage the surface. To avoid this, always check the label of cleaning products to ensure they’re safe for your cabinet’s finish. Stick to gentle, pH-balanced solutions and natural cleaners like vinegar or mild dish soap. Using the right cleaners will preserve the beauty and longevity of your cabinets, helping them retain their shine without causing unnecessary damage.
By following these dos and don’ts, you can ensure that your kitchen cabinets stay beautiful and functional for years to come, without the risk of damage from improper cleaning practices.
Tackling Stubborn Stains Without Damaging the Finish
Stubborn stains on kitchen cabinets can be frustrating, especially when you want to remove them without harming the finish. Whether it’s grease splatter, food stains, or fingerprints, tackling these marks requires a delicate approach. The key is to use gentle methods that lift stains without compromising the cabinet’s surface.
Using Baking Soda and Vinegar for Tough Stains
Baking soda and vinegar are two of the most effective natural ingredients for fighting tough stains. Baking soda works as a gentle abrasive that can lift grease and grime, while vinegar helps break down stains and neutralize odors. To clean stubborn stains, mix a small amount of baking soda with water to create a paste. Apply the paste to the stained area, let it sit for a few minutes, then gently scrub with a soft cloth or sponge. For added cleaning power, a vinegar and water solution can be sprayed onto the stain before wiping it away. Both these ingredients are safe for most cabinet finishes, making them ideal for cleaning without damage.
Natural Alternatives to Commercial Cleaners
While commercial cleaners may seem like an easy solution, many contain harsh chemicals that can damage cabinet finishes over time. Instead, natural cleaning alternatives can effectively clean your cabinets without compromising their integrity. Solutions like mild dish soap mixed with warm water, or a combination of vinegar and water, are perfect for everyday cleaning. These natural alternatives are gentle, non-toxic, and safe for all types of finishes, offering a more eco-friendly option for cabinet care. Regularly using natural cleaners can keep your cabinets looking great while also protecting them from chemical damage.
Preventative Measures to Keep Your Cabinets Clean and Protected
Preventing damage to your cabinets in the first place is just as important as cleaning them properly. Implementing a few simple habits can go a long way in keeping your cabinets looking fresh and preventing stains and wear.
Regular Maintenance and Cleaning Habits
Establishing a routine of regular maintenance and cleaning is essential for protecting your cabinets. Wipe down your cabinets weekly with a soft cloth to remove dust and grime before it builds up. For kitchen cabinets that frequently get greasy, such as those near the stove or sink, give them a quick clean more often to prevent grease buildup. By staying on top of small messes, you can avoid the need for more intensive cleaning down the line. Additionally, check hardware, such as knobs and handles, for any signs of wear or buildup, and clean them regularly to keep them functioning properly.
Protecting Cabinets from Future Damage
Protecting your cabinets from future damage can be achieved by taking simple precautions. Install cabinet liners or use protective pads inside drawers to prevent scratches or stains from utensils or kitchen items. In high-moisture areas, such as near the sink, use a fan or ensure proper ventilation to prevent moisture from seeping into the wood. For painted cabinets, consider applying a fresh coat of wax or polish to protect the finish and add a layer of protection against dirt and grime. By taking these preventive steps, you’ll preserve the appearance and function of your cabinets for the long term.
Deep Cleaning Kitchen Cabinets: How Often Should You Do It?
Deep cleaning is essential for maintaining the overall health of your kitchen cabinets, especially in high-use areas. While regular maintenance is crucial, occasional deep cleaning ensures that no dirt, grease, or grime is hiding in hard-to-reach spots. Knowing when and how to schedule deep cleaning is key to keeping your cabinets in top shape.
When to Schedule a Thorough Clean
You should schedule a deep clean for your kitchen cabinets every 6 to 12 months, depending on how much use they get. If your kitchen sees heavy cooking activity, you may need to clean your cabinets more frequently to tackle grease buildup. Deep cleaning is also important if you notice any dirt or grime accumulating in corners or on hardware. In general, it’s best to deep clean your cabinets during the spring or fall, when you’re likely to be doing a more thorough house cleaning.
Deep Cleaning Tips Without Stripping the Finish
Deep cleaning doesn’t have to mean stripping the finish or damaging the surface. To avoid this, follow these tips:
- Use a Gentle Cleaner: Choose a mild cleaner or a DIY solution like warm water with dish soap or vinegar.
- Be Gentle: Avoid scrubbing too hard. Instead, use a soft brush or cloth to reach into crevices and clean delicate areas.
- Don’t Soak: Never soak your cabinets with water. Dampen a cloth and work in small sections to keep moisture to a minimum.
- Dry Immediately: After deep cleaning, always dry the cabinets immediately with a clean, soft cloth to prevent water from seeping into joints or edges.
By following these tips, you can deep clean your kitchen cabinets effectively without damaging their finish or integrity. Regular deep cleaning will not only improve their appearance but also prolong their lifespan.
Special Considerations for Different Types of Cabinet Finishes
Each type of cabinet finish needs special care when cleaning. Understanding how to treat different finishes will help you keep your kitchen looking great without causing damage to your cabinets.
Cleaning Painted Cabinets
Painted cabinets need extra care because harsh cleaners can damage the paint. To clean them, use a soft cloth or sponge with a gentle solution of warm water and mild dish soap. Avoid using scrubbing pads or strong chemicals, as they can scratch or strip the paint. For tougher stains, try making a paste with baking soda and water. Always dry the cabinets right after cleaning to prevent water marks. If you notice any paint chipping, touch it up to keep the cabinets looking fresh.
Cleaning Wood Cabinets Without Causing Damage
Wood cabinets are beautiful but can be easily damaged by moisture and harsh chemicals. To clean them safely, mix mild dish soap with warm water and wipe the cabinets with a soft cloth. Don’t use too much water—just dampen the cloth and dry the cabinets quickly. If your wood cabinets are stained or have grease buildup, use a wood-safe cleaner that is designed for your cabinet finish. Regularly dusting and cleaning helps maintain the wood’s natural beauty and keeps it looking new for longer.
Caring for Glass-Front Cabinets
Glass-front cabinets require extra attention to keep them clean without damaging the glass. Use a gentle glass cleaner or a mix of vinegar and water to clean the glass. Wipe with a soft cloth to avoid streaks and smudges. Be careful not to let the cleaner drip onto the wood or frame, as it could cause damage. For the cabinet frame, use a mild cleaner that won’t harm the finish. Regular cleaning ensures your glass-front cabinets stay sparkling and clear.
How to Maintain Your Kitchen Cabinets Between Cleanings
Keeping your cabinets clean doesn’t always have to be a big task. A little daily maintenance can go a long way in keeping your cabinets in good shape.
Quick and Easy Daily Cleaning Tips
To keep your cabinets looking fresh every day, simply wipe them down with a soft cloth to remove dust and grease. Focus on areas around handles or near the stove where grease can build up. You don’t need to do a deep clean every day—just a quick wipe will help prevent dirt from accumulating and make your next big clean easier.
Seasonal Care for Long-Term Durability
Every few months, give your cabinets a little extra care. This includes removing any built-up grime, wiping down handles, and checking for any spots that need a deeper clean. In the fall and spring, when you’re doing your regular home cleaning, take some time to inspect your cabinets. Look for any chips, cracks, or areas where the finish might be wearing thin, and address them early to extend the life of your cabinets.
Troubleshooting Common Cabinet Cleaning Problems
Sometimes, your cabinets may face issues that require a little extra attention. Here’s how to deal with common problems that can come up.
Dealing with Sticky Cabinets
Sticky spots on cabinets are often caused by spilled food, grease, or moisture. To clean sticky cabinets, use a mixture of warm water and mild dish soap, and gently scrub with a soft cloth. If the sticky residue is tough to remove, try using a vinegar and water solution. Be sure to dry the surface right after cleaning to avoid any moisture damage.
How to Fix Water Marks and Other Imperfections
Water marks and other imperfections can be frustrating, but they’re usually easy to fix. For water marks on wood or painted cabinets, you can gently buff the area with a soft cloth. If the mark won’t go away, try using a small amount of wood polish or wax to restore the shine. For painted cabinets, you can touch up any chipped areas with matching paint to make them look like new again. Keeping an eye on these imperfections early will help prevent long-term damage.
By following these easy tips and maintaining a regular cleaning routine, your kitchen cabinets will stay looking beautiful for years to come!
Conclusion
Taking care of your kitchen cabinets doesn’t have to be difficult, and with the right approach, they can stay looking great for years. By using gentle cleaning methods, the right tools, and being mindful of your cabinet finishes, you can keep your cabinets looking like new without damaging their surface.
Final Tips for Long-Lasting Cabinet Beauty
For long-lasting cabinet beauty, always choose cleaning solutions that are gentle and suitable for your cabinet finish. Regularly wipe down your cabinets to avoid grease build-up, and use soft cloths to prevent scratches. Don’t forget to check for signs of wear or damage and address them right away to prevent further issues. Also, remember that less is more—avoid over-wetting your cabinets, and always dry them promptly to protect the finish. With these simple steps, you can preserve the beauty of your cabinets for years to come.

